A while back I was doing some sewing, making a few baby gifts for some friends. My daughter was intrigued. I don't haul out the sewing machine often, so watching me sew was novel to her. She wanted to learn, so I set her up with some scraps and got her started on a small project. Of course, this made her want to use my machine while I was still busy with my own projects which was making everything take longer. We needed a solution.
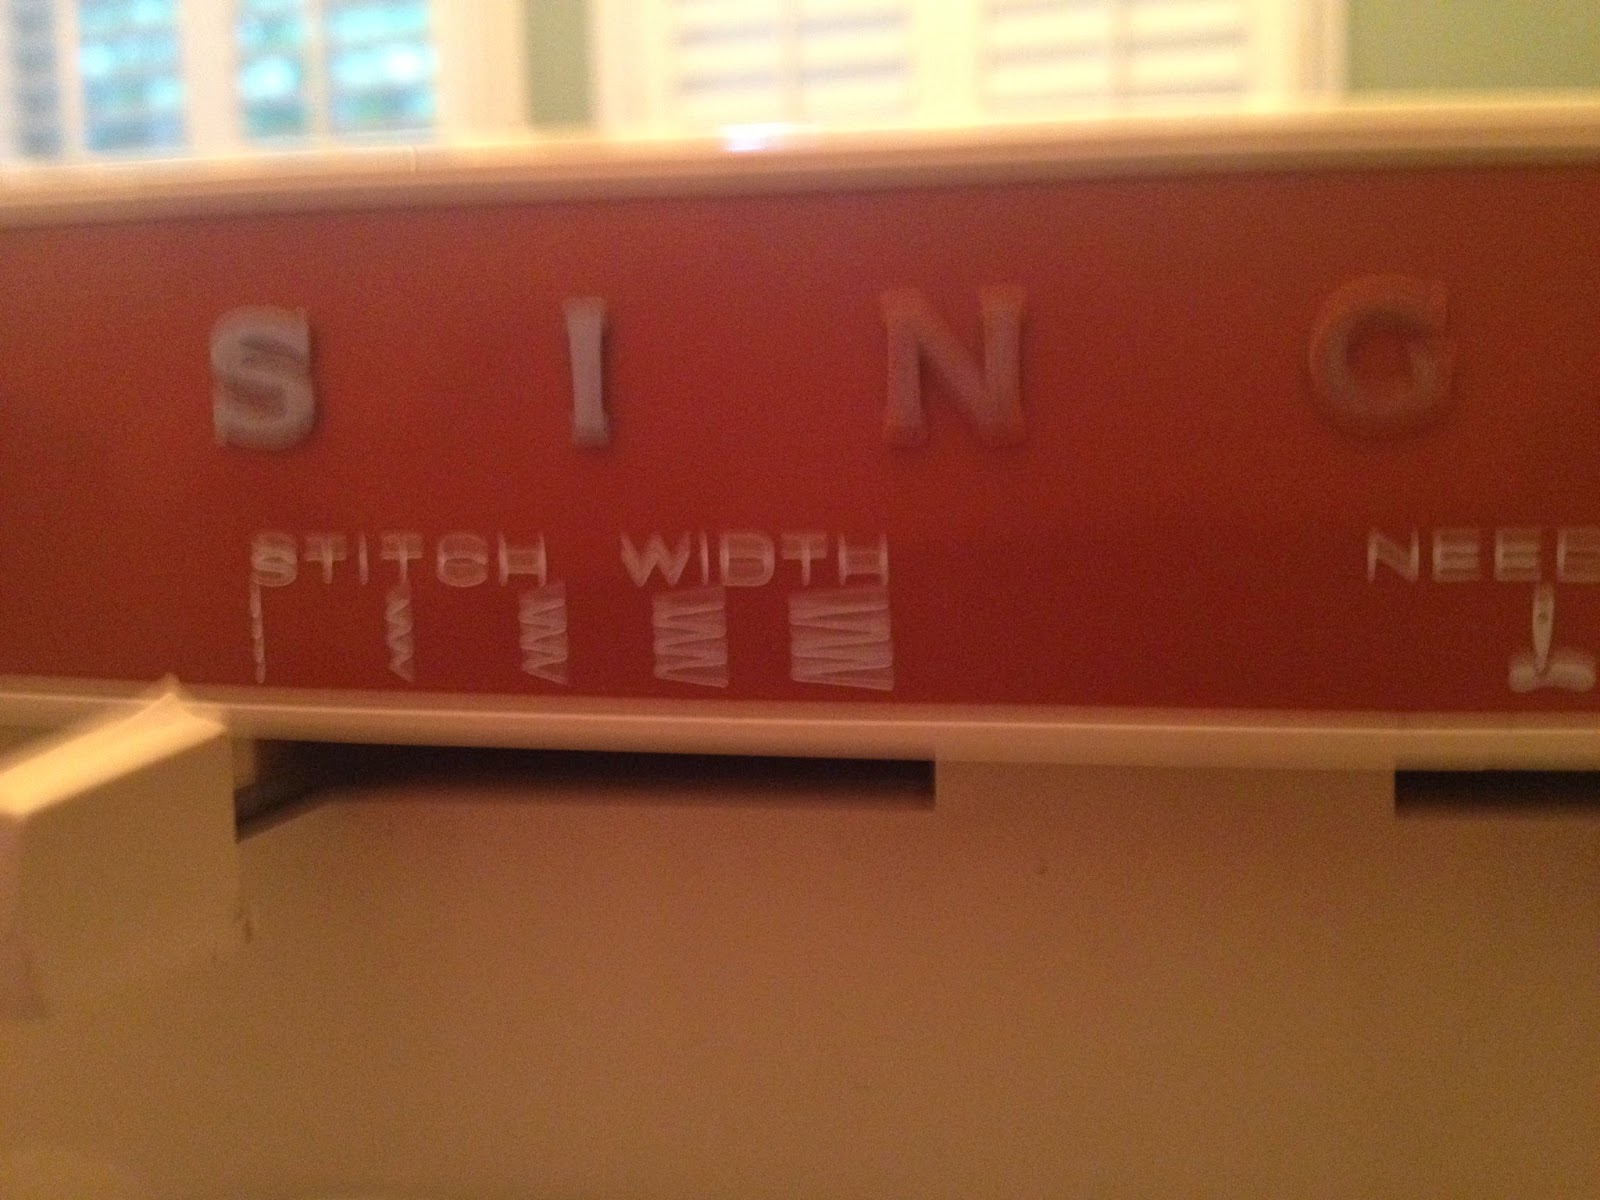
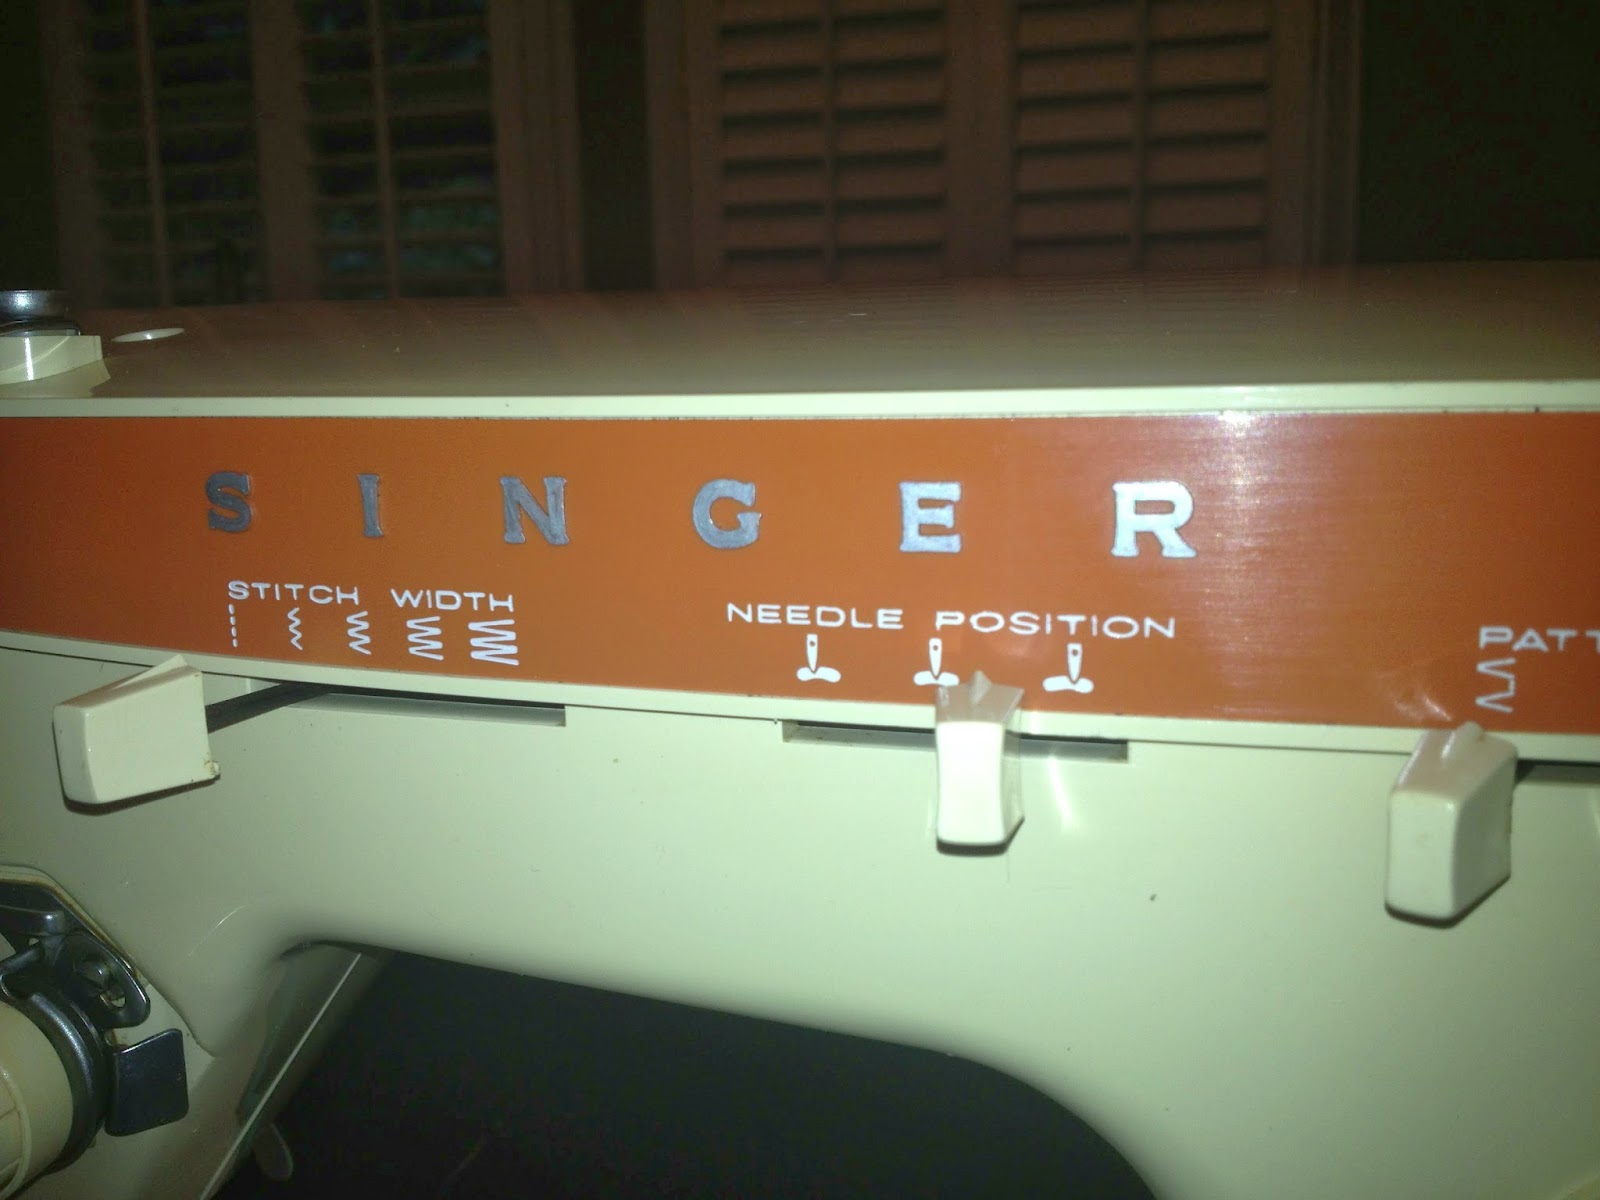
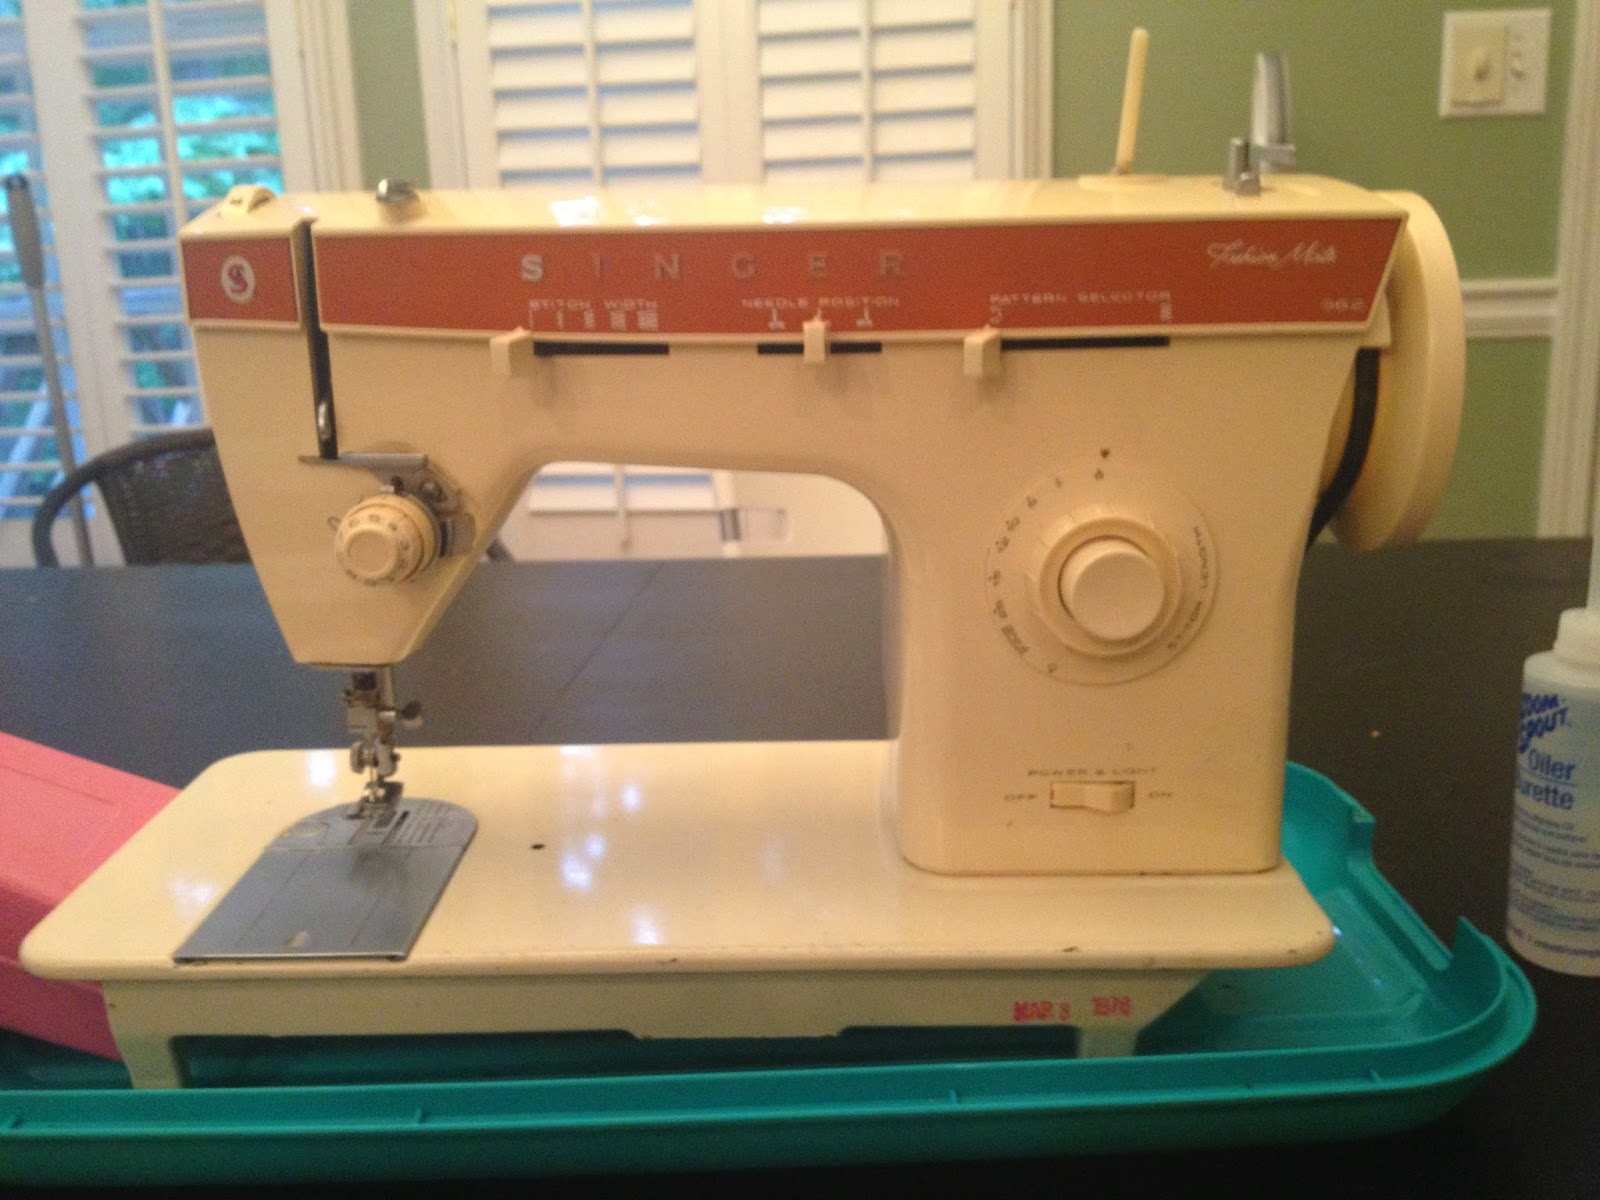
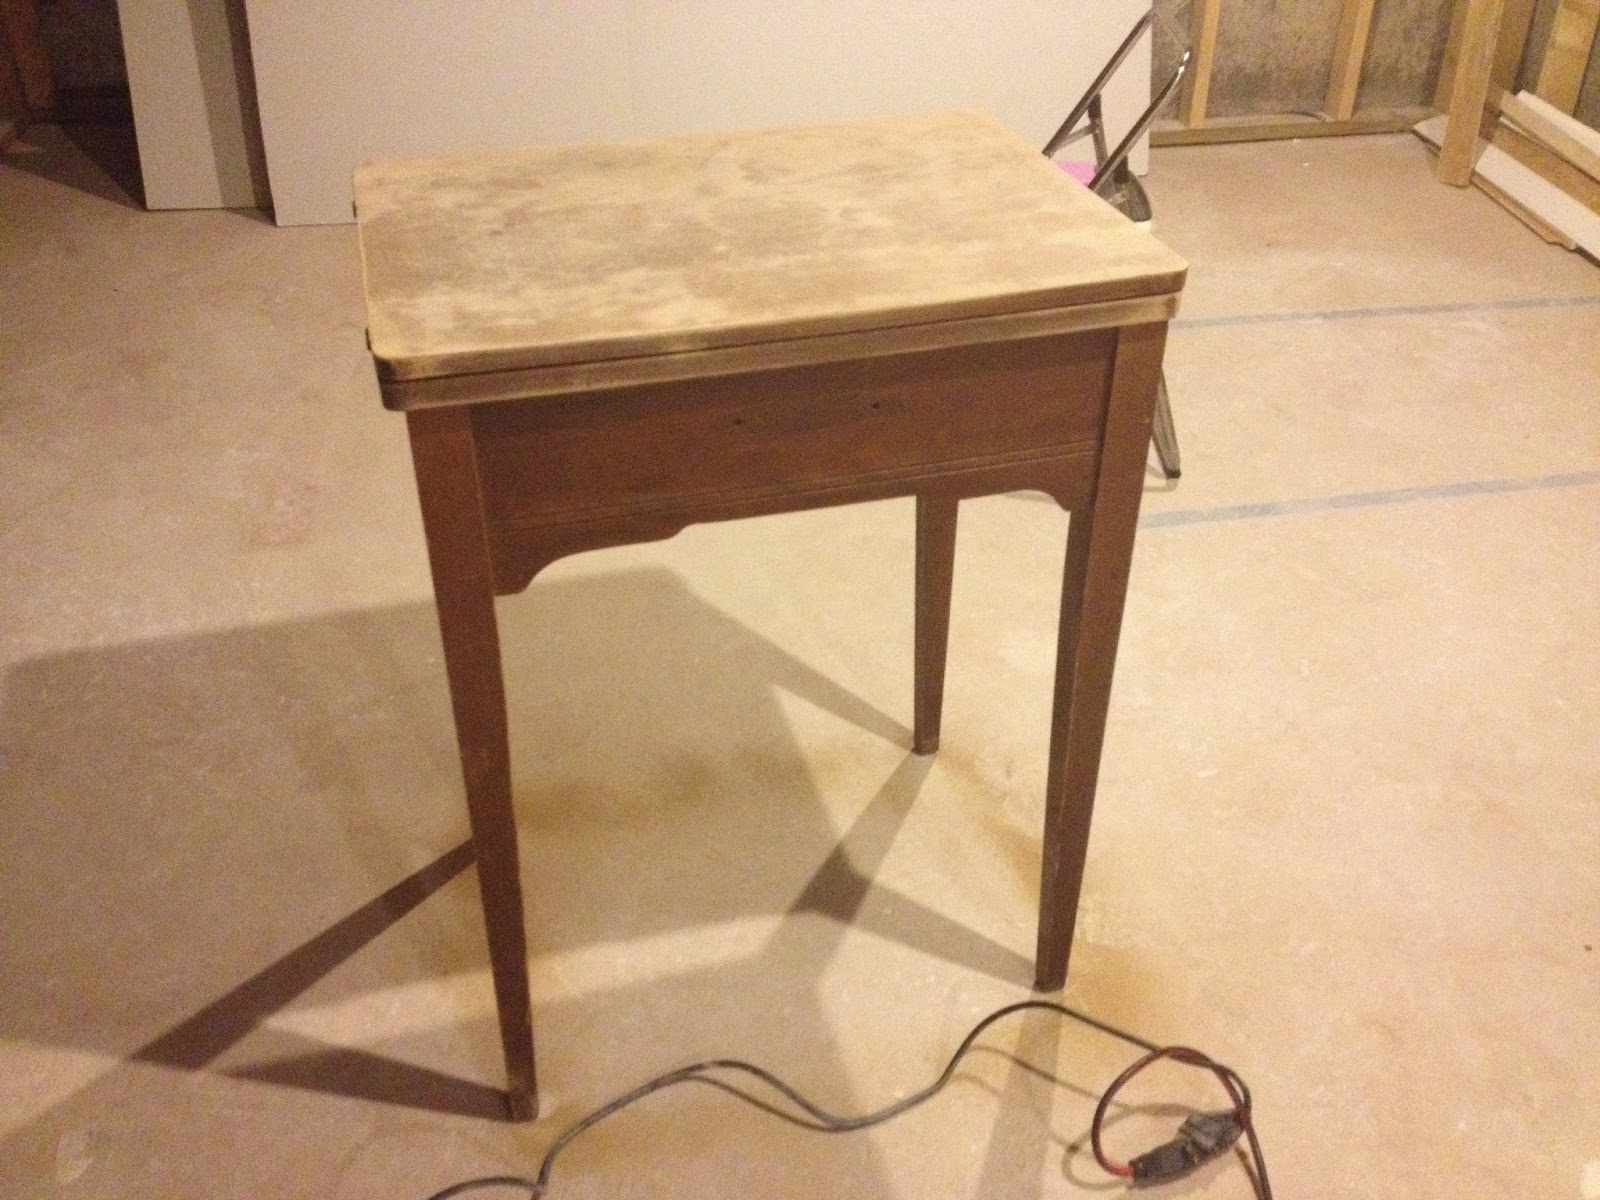
A few days later, I happened upon a battered bit of furniture at a local thrift shop. I recognized the cabinet immediately. Singer never had much variation in their sewing machine furniture! I peeked inside and found a well loved, and long neglected sewing machine with no power cord. It was a "Fashion Mate 362" an amazing workhorse of a machine. Fashion Mates are often used in schools for Home Ec because they are affordable and easy to use, as well as extremely durable. What better machine for teaching a kid how to sew than a machine that is used all over to teach kids how to sew? In it's sad state, the thrift shop only wanted a few dollars for it. Knowing old singers are nearly indestructible, I put it through its paces, moved all the knobs and dials, found only one sticking but was fairly sure I could fix it, and if the internal electronics were still good, all it would need is a foot pedal/power cord! If the electronics were shot, I was only out a few dollars and I got a fixer-upper table instead!
I snatched it right up!
The machine itself showed a lot of wear, scuffed paint from heavy use, but it was also really grimy. I imagine it belonged to someone that sewed a lot, thus the worn spots, then it stopped being useful, was moved into a kitchen and used as decoration. Cooking grease settled on all the surfaces of the machine hidden inside, and the top of the cabinet was used to hold plants. Plants that were over watered and damaged the lid.
 |
| Doesn't look too bad at first glance, but it was literally TACKY with grime! |
 |
| A helpful date stamp covered with a blob of grease. 1978! |
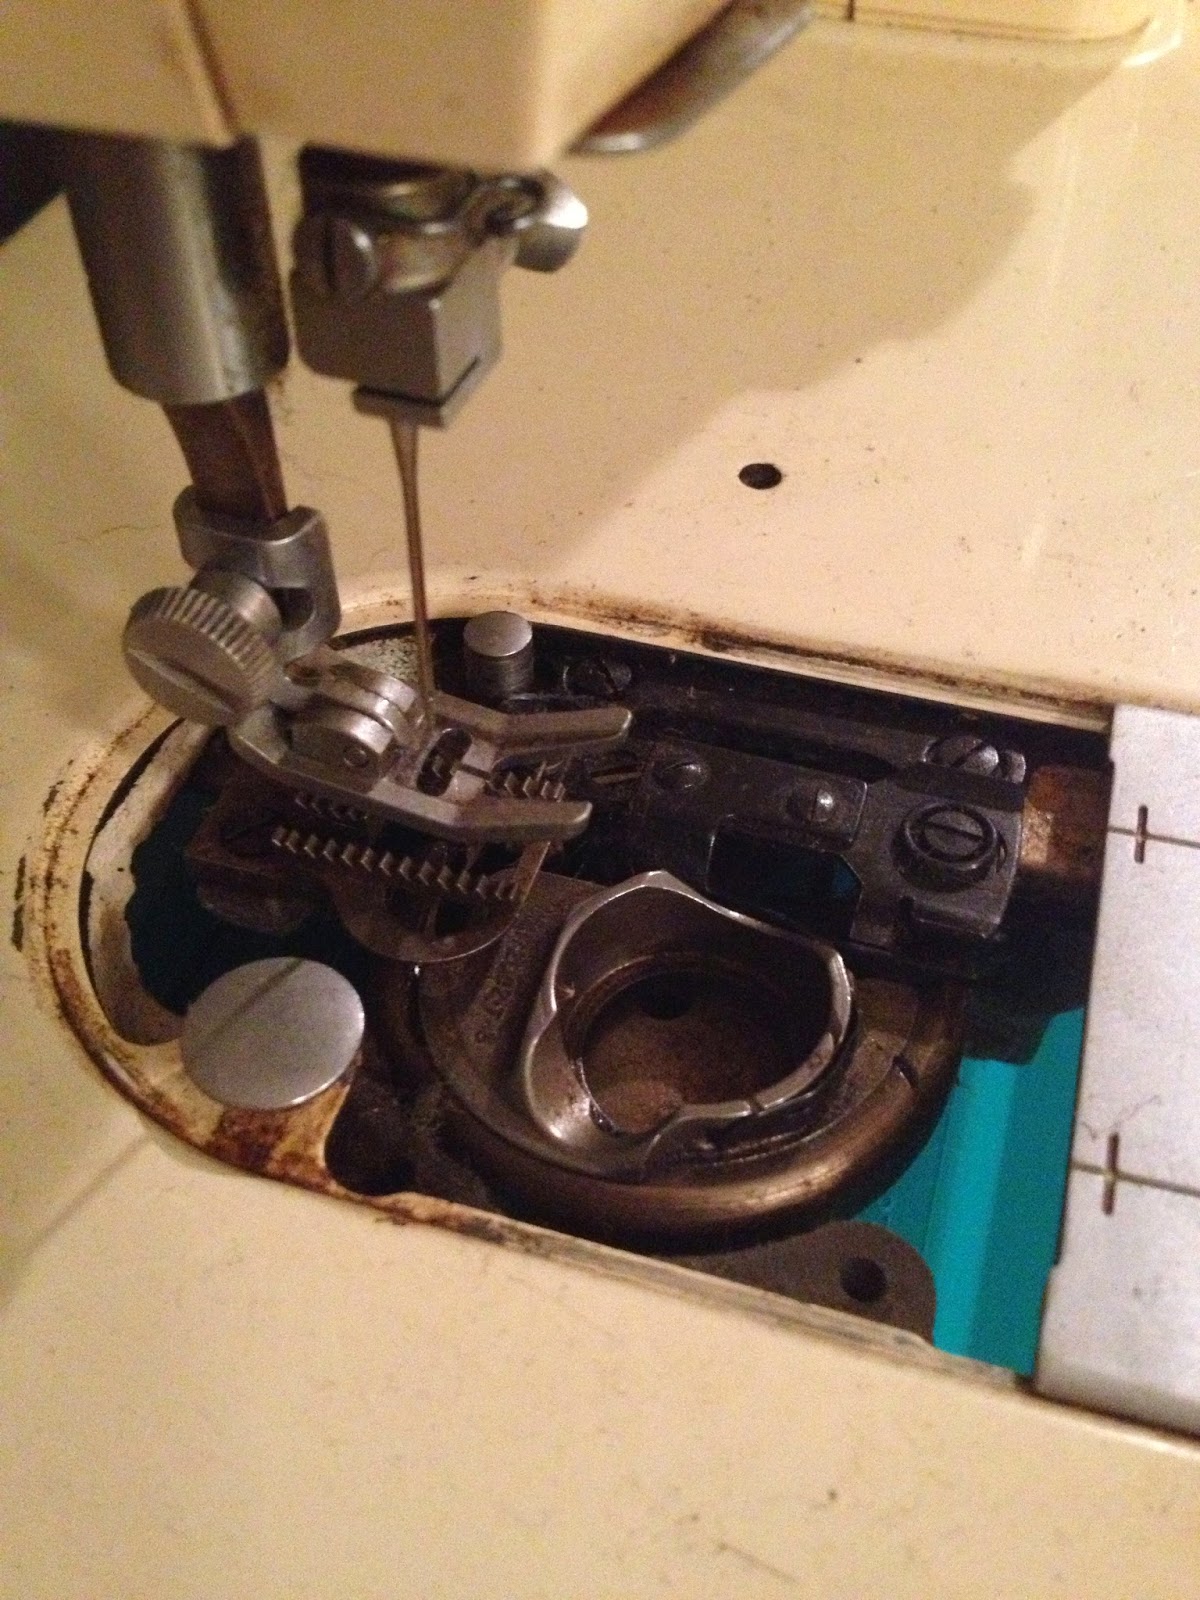 |
| Sticky brown-orange goo in all the crevices! |
 |
| bobbin case, before |
I started by taking the machine out of the cabinet and taking off the covers. Then I began to clean all the grimy bits. Not wanting to damage the paint, or the metal, I started with some soapy water. That didn't clean much. Then I moved to windex, which worked a little better. Dilute fabuloso came next and what that didn't remove got a cotton swap soaked in scrubbing bubbles! That worked incredibly well at removing the tacky film all over the outside of the machine. Inside any mechanical parts that weren't lubricated joints also got a touch of scrubbing bubbles. Moving parts got repeated applications of sewing machine oil and a lot of scrubbing with cotton swabs to soften and remove the old, built up, dried up oil.
 |
| interior, top, before. |
|
|
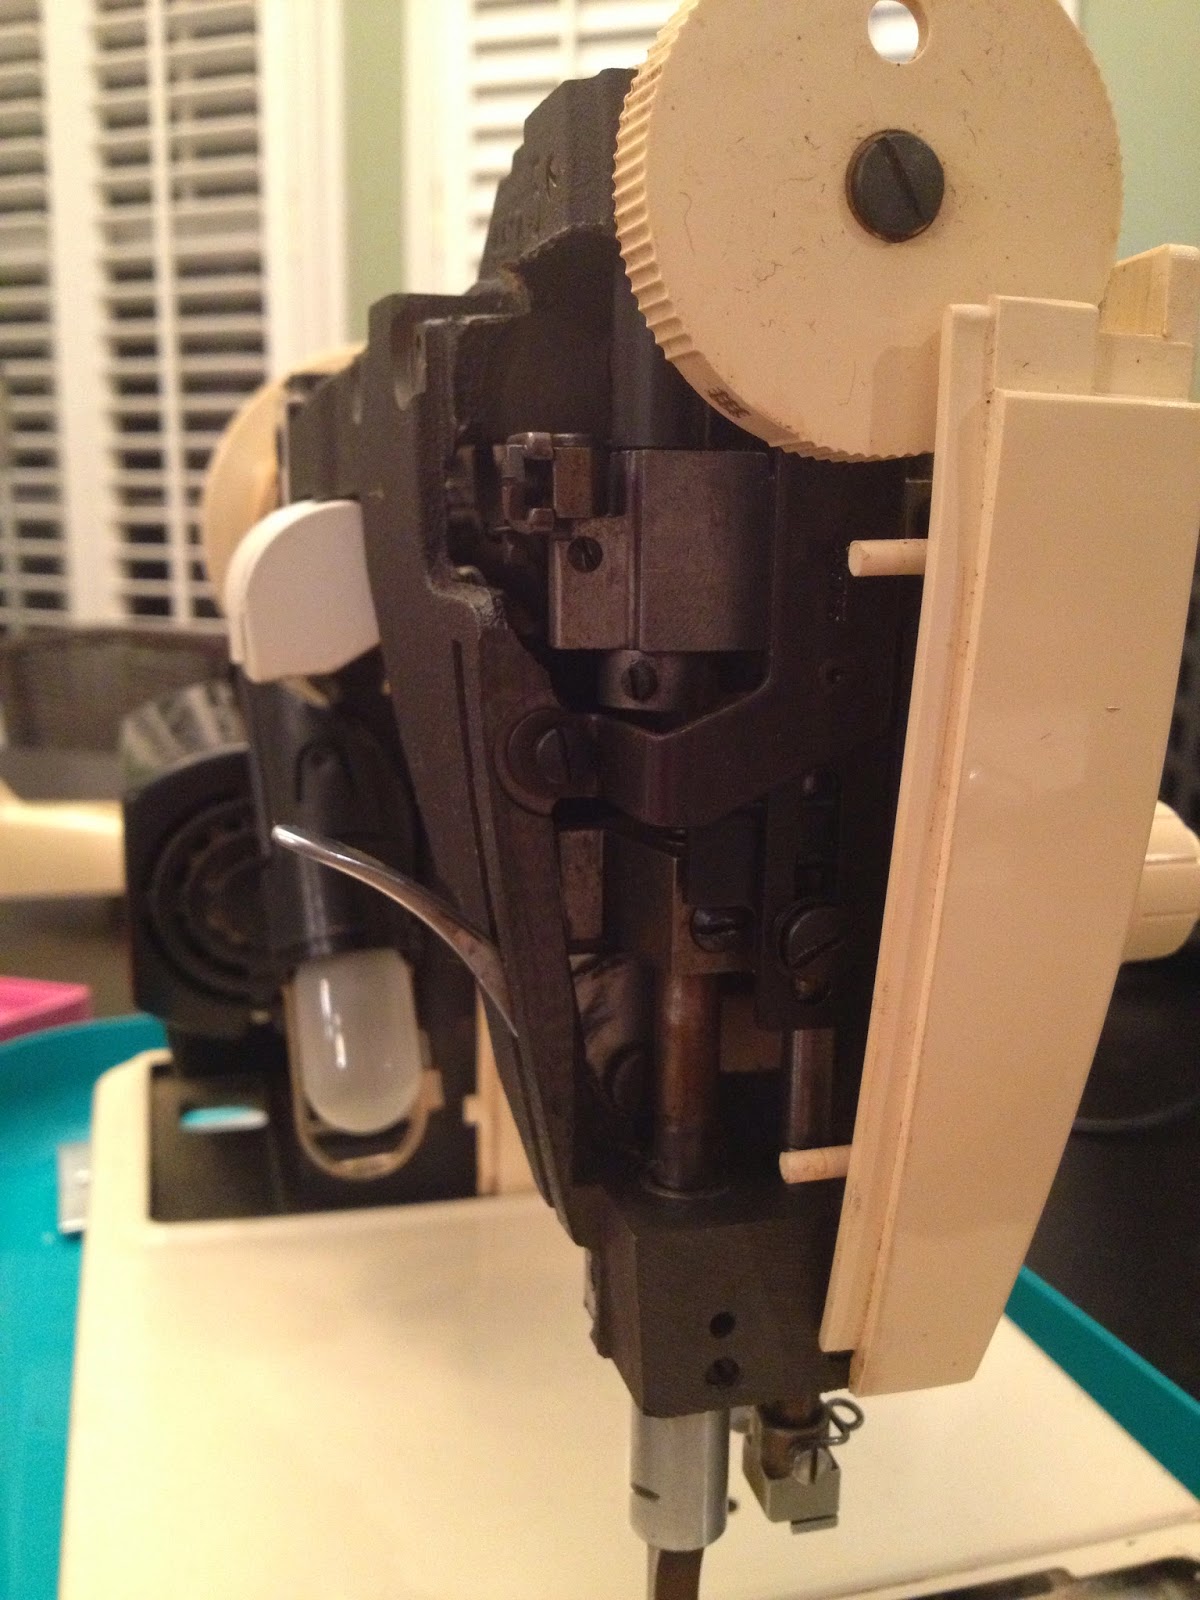
The middle selector, that shifts the needle position, was the one that wouldn't move. This was the one place I did hit up a moving joint with scrubbing bubbles after oiling it didn't work. I knew I was risking damaging the machine but it was not fully functional the way it was. It was a risk I was willing to take and it seems to have paid off. after the joint was freed up, it was oiled thoroughly. The selector now slides easily.
 |
| side view, before |
 |
| Close up of plug area, before |
|
 |
| Bottom, before |
 |
| Back, with case removed and light folded out, during cleaning |
|
 |
| Presser foot side, during |
I learned to sew on my grandmother's old Singer. She'd bought it new in the 60s! It had a fancy new interchangeable plastic gear system that allowed one to change the stitch patterns. What my 1990s era Singer does with the turn of a knob (and current machines do with the press of a button) hers did with a 'simple' flip of a panel, unscrewing of a knob, removal of the old gear wheel, installation of the new one, putting the knob back on and closing the lid, then adjusting all the stitch lengths and needle positions to fit the new stitch. It was cutting edge! This model skip the bells and whistles and opts for straight and zig zag stitches only.
 |
| pressure adjustment dial, during |
|
 |
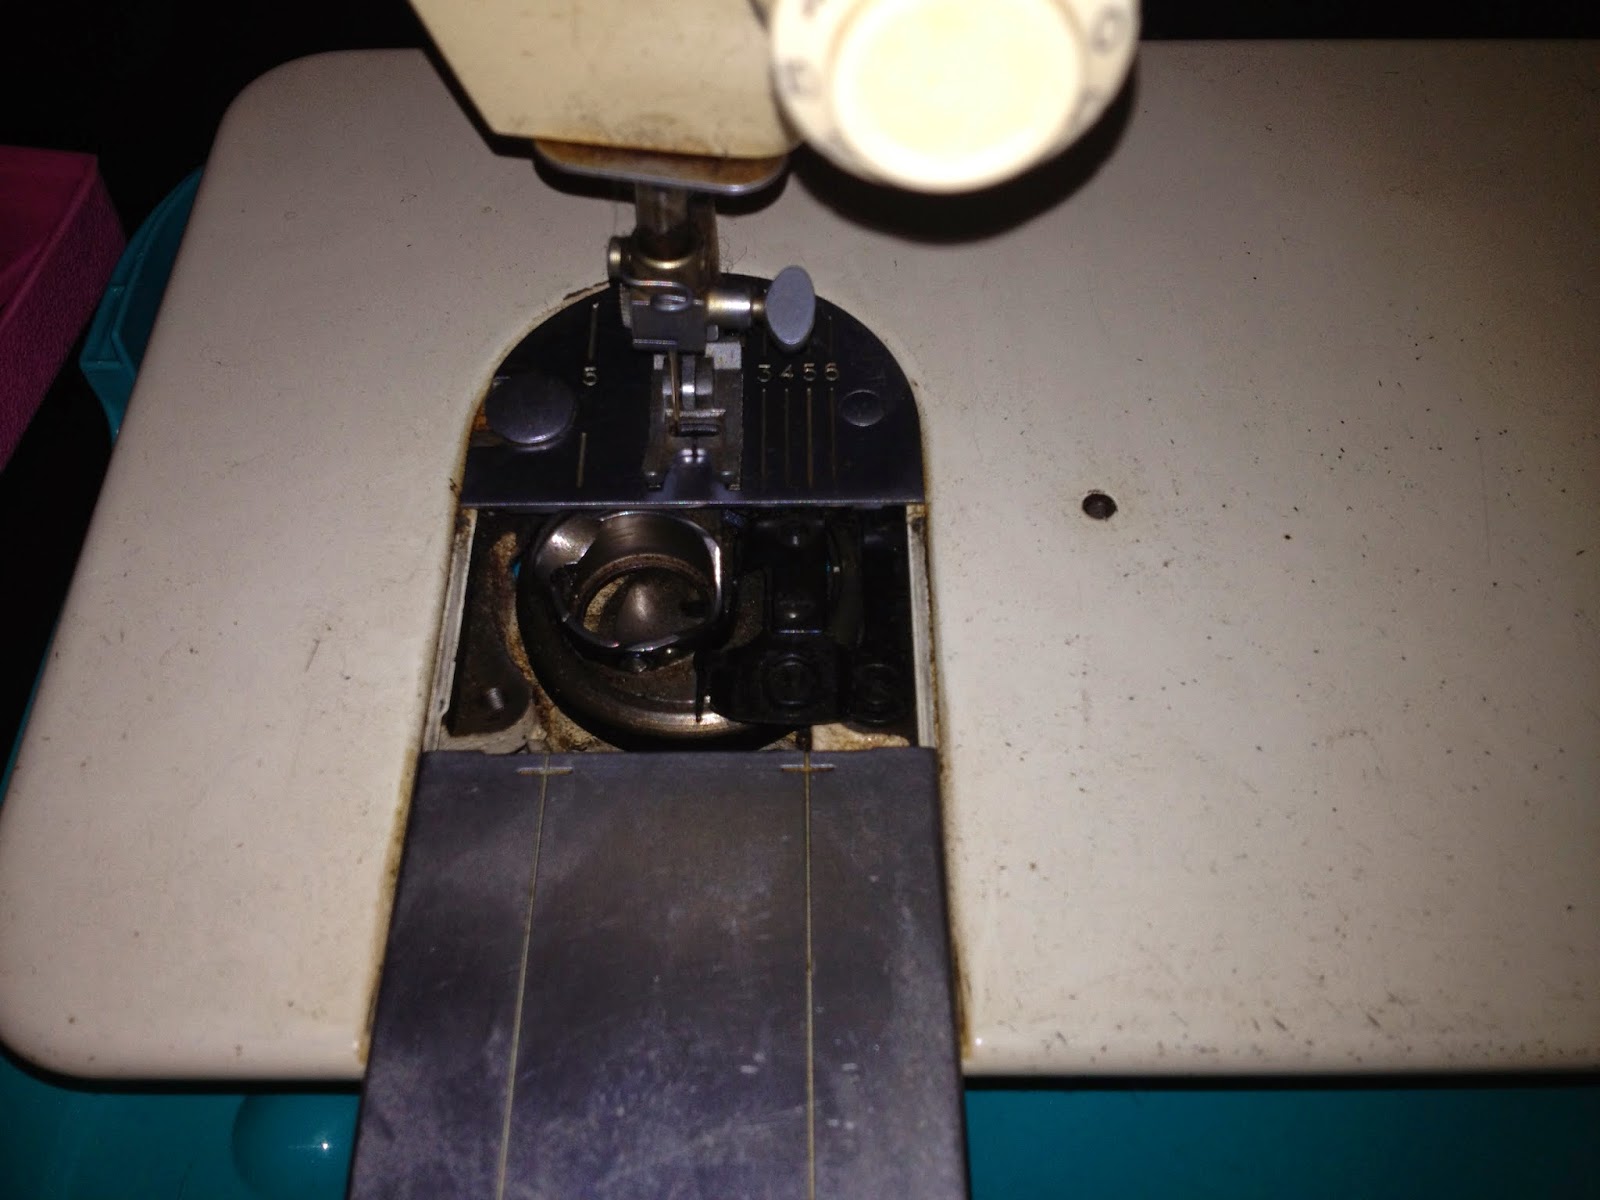
| bobbin case, after, still needs to be reassembled |
|
 |
| So Much Cleaner!! |
 |
| I must have used a hundred cotton swabs! This one is getting the grime out of the dial ridges. |
 |
| Nastiness had settled into every corner, even around the lettering! |
 |
| This is a screw from the top, one half is clean, the other is not. |
 |
| Halfway done cleaning the ridges on the release wheel! Can you tell where I stopped? |
|
 |
| Coming back together! |
|
 |
| Clean! | |
 |
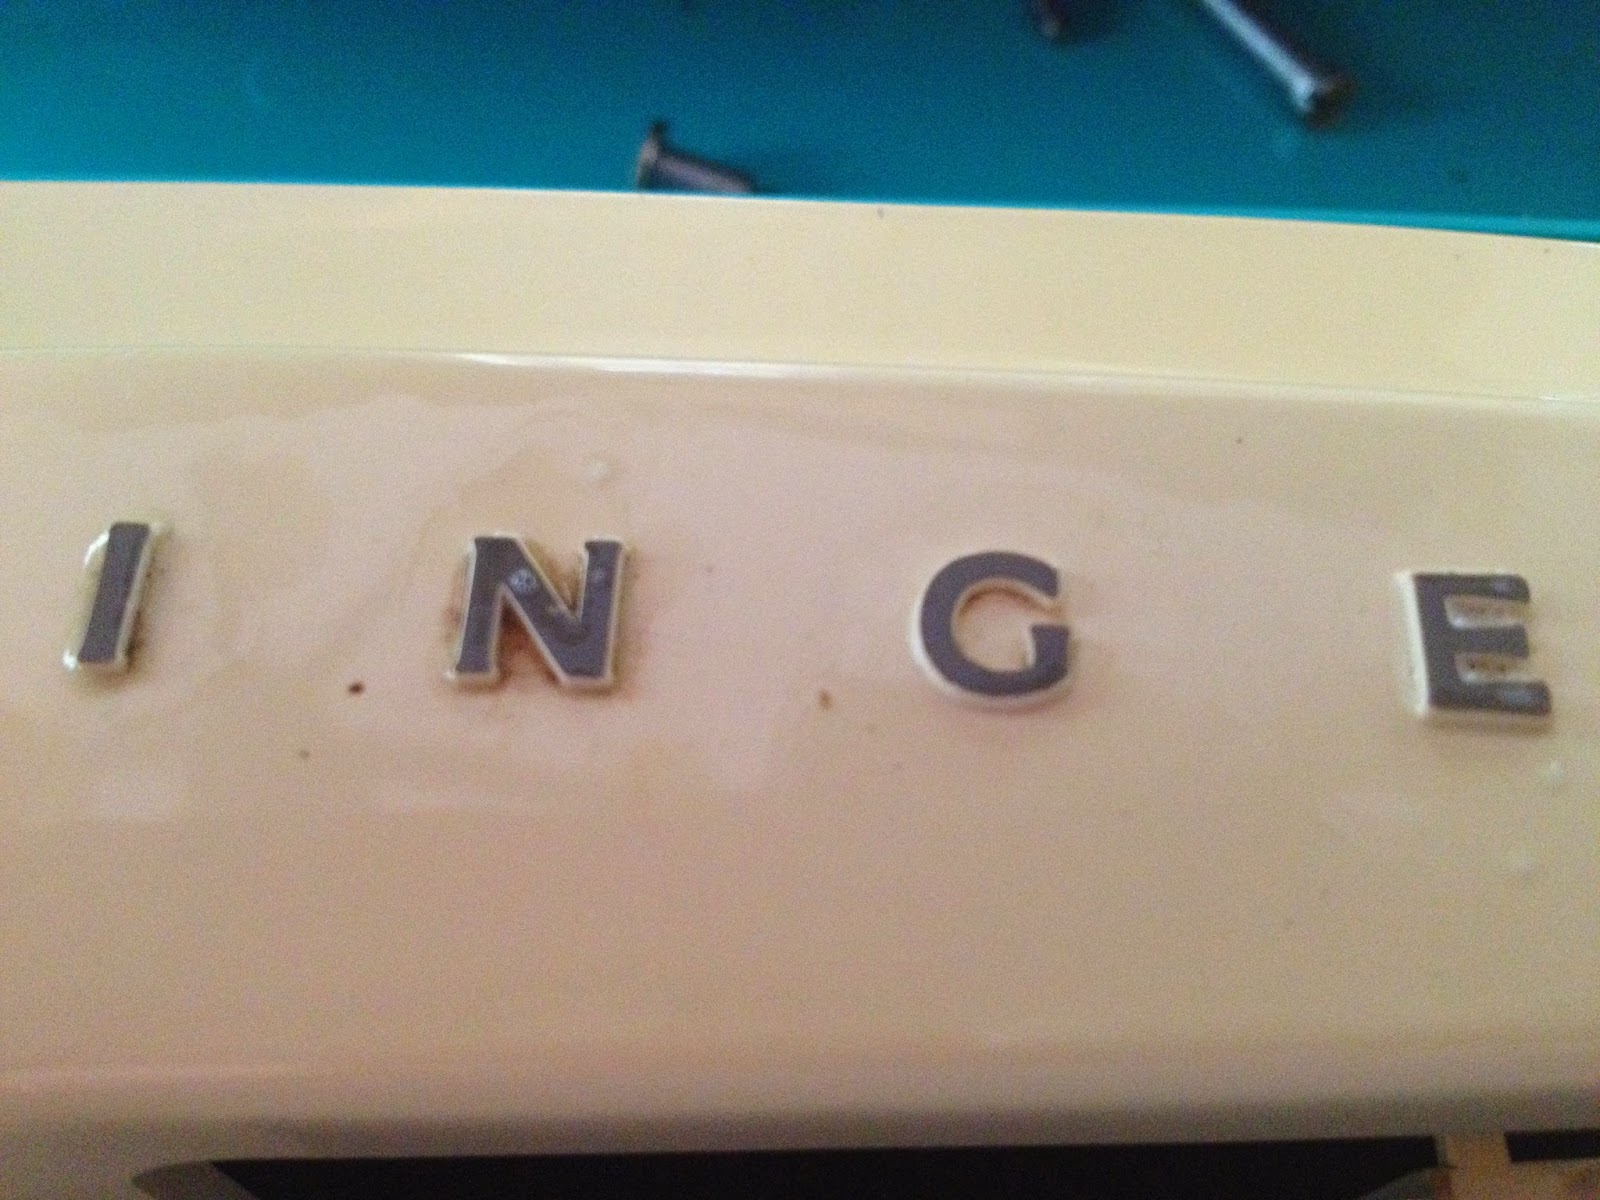
| Time had worn the silver paint off the letters on the front of the machine. |
 |
| A silver sharpie soon made it right again! |
 |
| Feeling better! |
The cabinet was another project by itself! It was water marked, the finish worn off in places, the veneer
peeling. I knew it wasn't worth trying to save the natural look, but I
also knew my daughter would love something super original and quirky!
 |
| With machine removed, prior to repainting. |
|
|
 |
| Don't mind the dust. I forgot I hadn't taken any before pictures after I had started sanding it! |
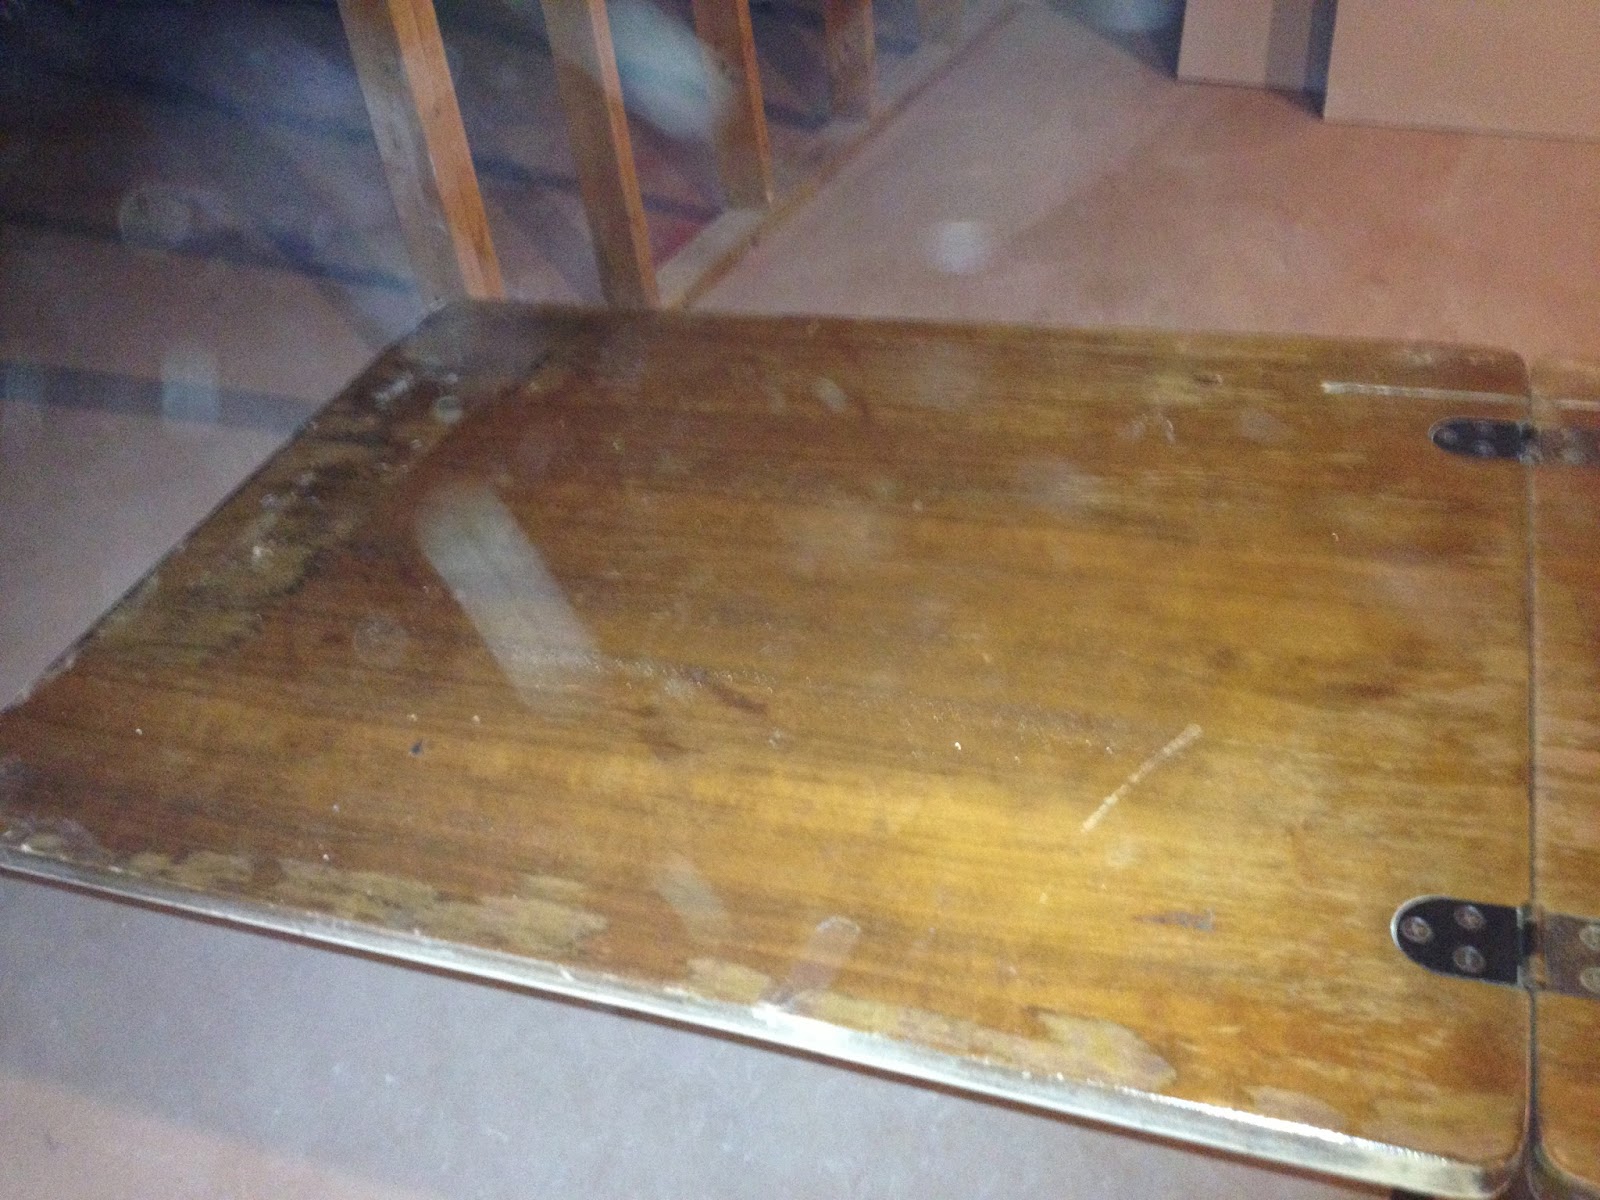
There was a thin bit of cardboard under the machine but it had been damaged and was just hanging off by one side. I removed it.
 |
| after a good sanding, with cracks and chipped veneer filled. |
 |
| 2 coats of gray primer |
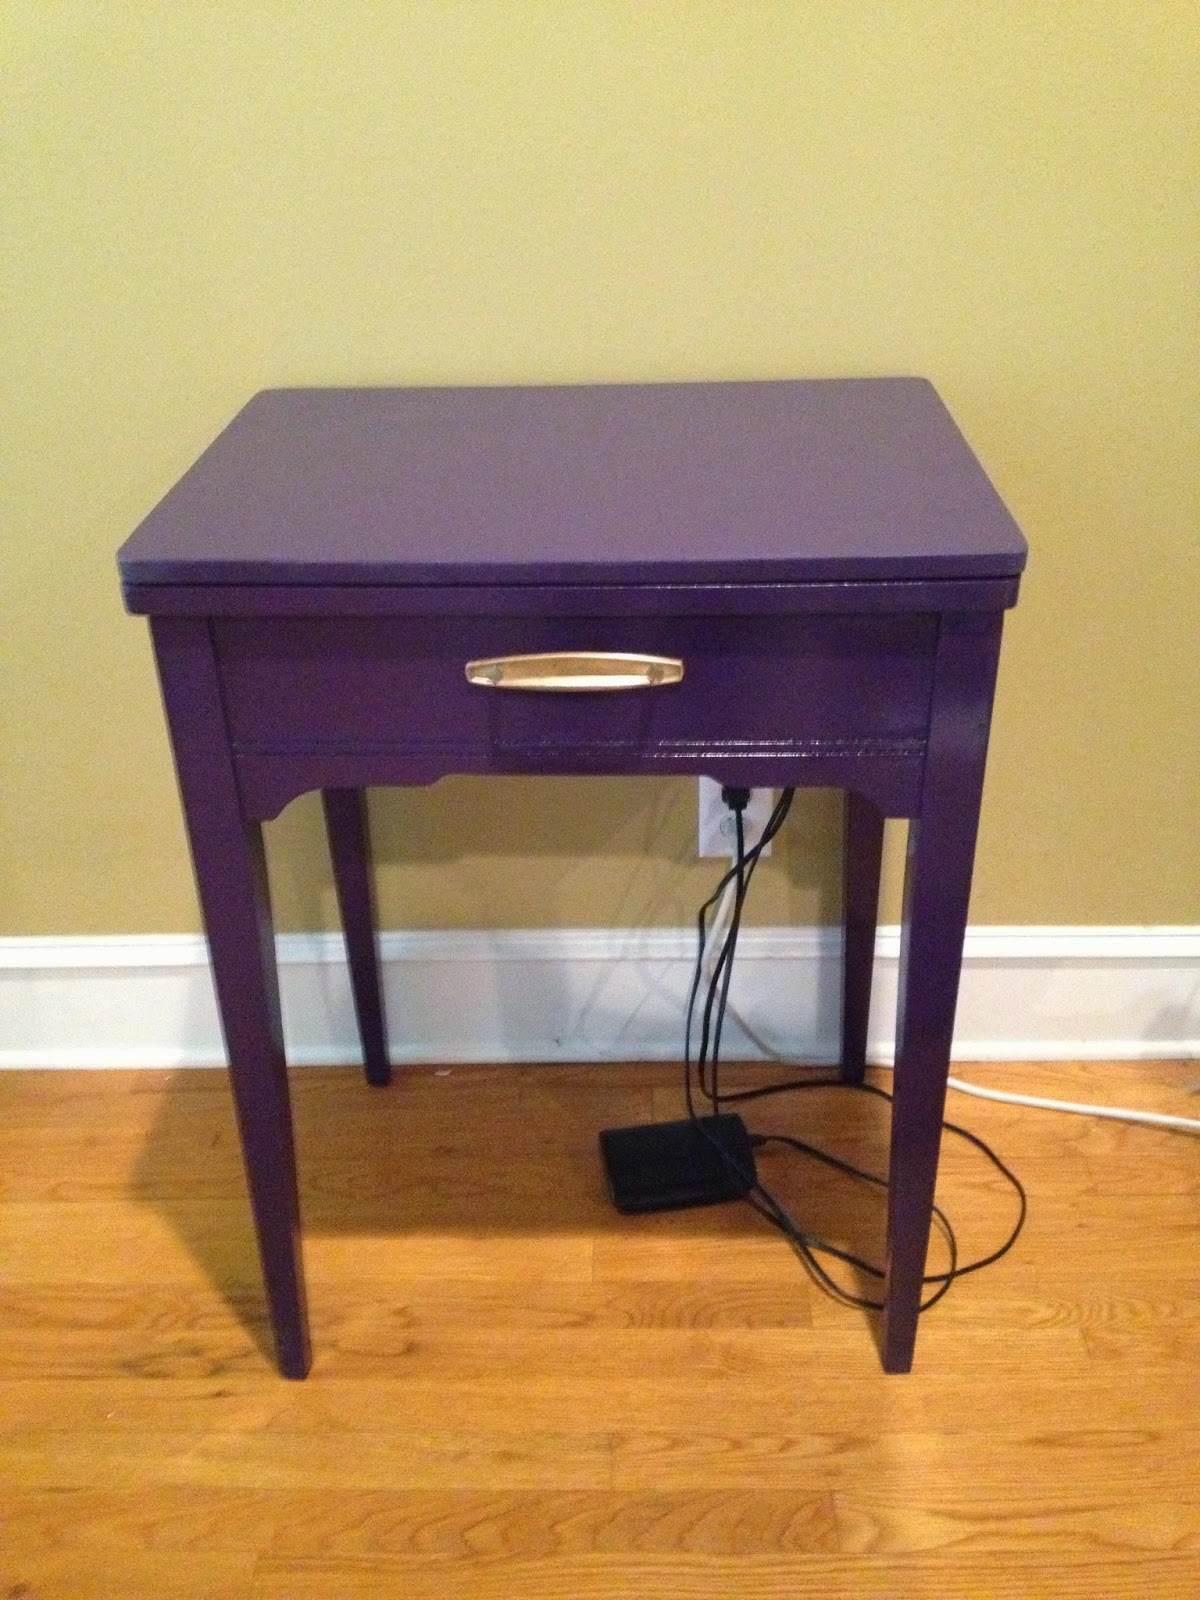 |
| Then MANY coats of purple! |
 |
| With the hinges back on, it still folds nicely into it's cabinet! |
 |
| With the machine back in place. |
We looked at replacing the old decorative hardware with something newer
but my daughter liked the old handle. We cleaned and polished it up and
put it back on. It's quite scuffed up but it's not obvious unless you
are up close. At some point I'd like to add a small wire basket to the underside of the cabinet to hold the control pedal. I guess that is what the old cardboard bottom was for!
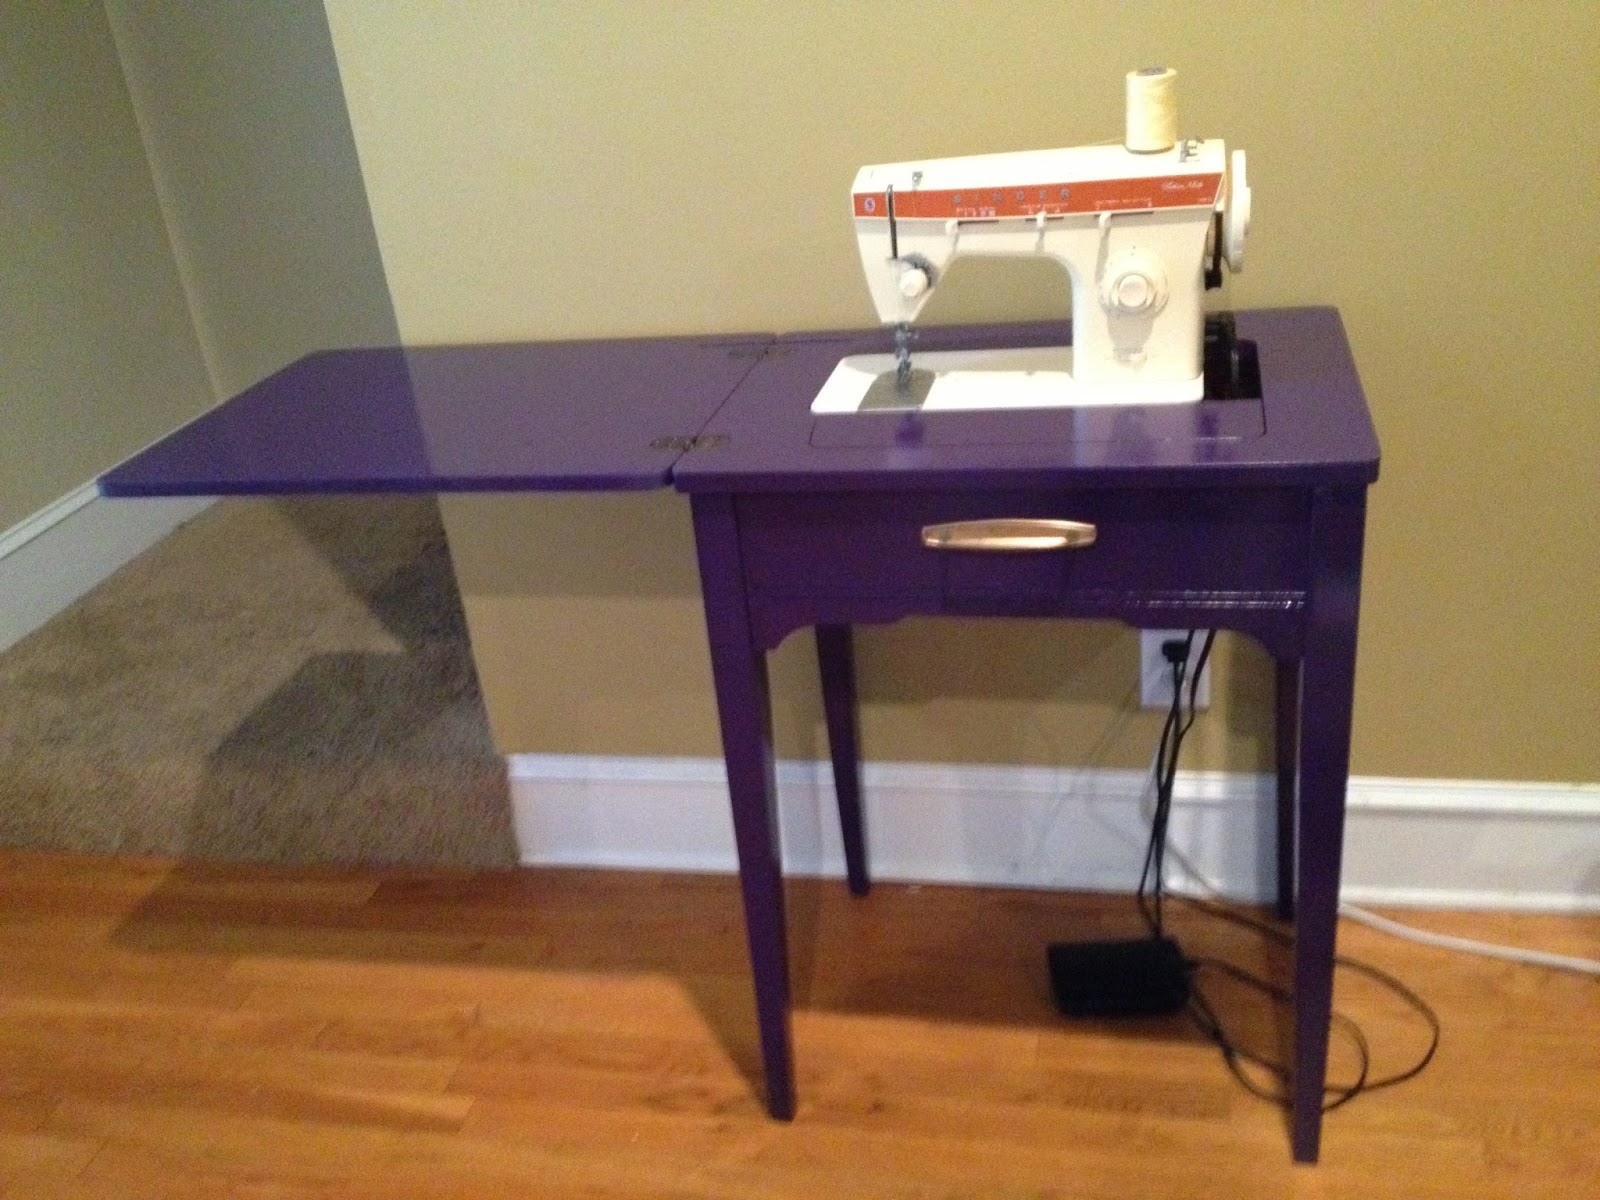 |
| With it's new foot control. |
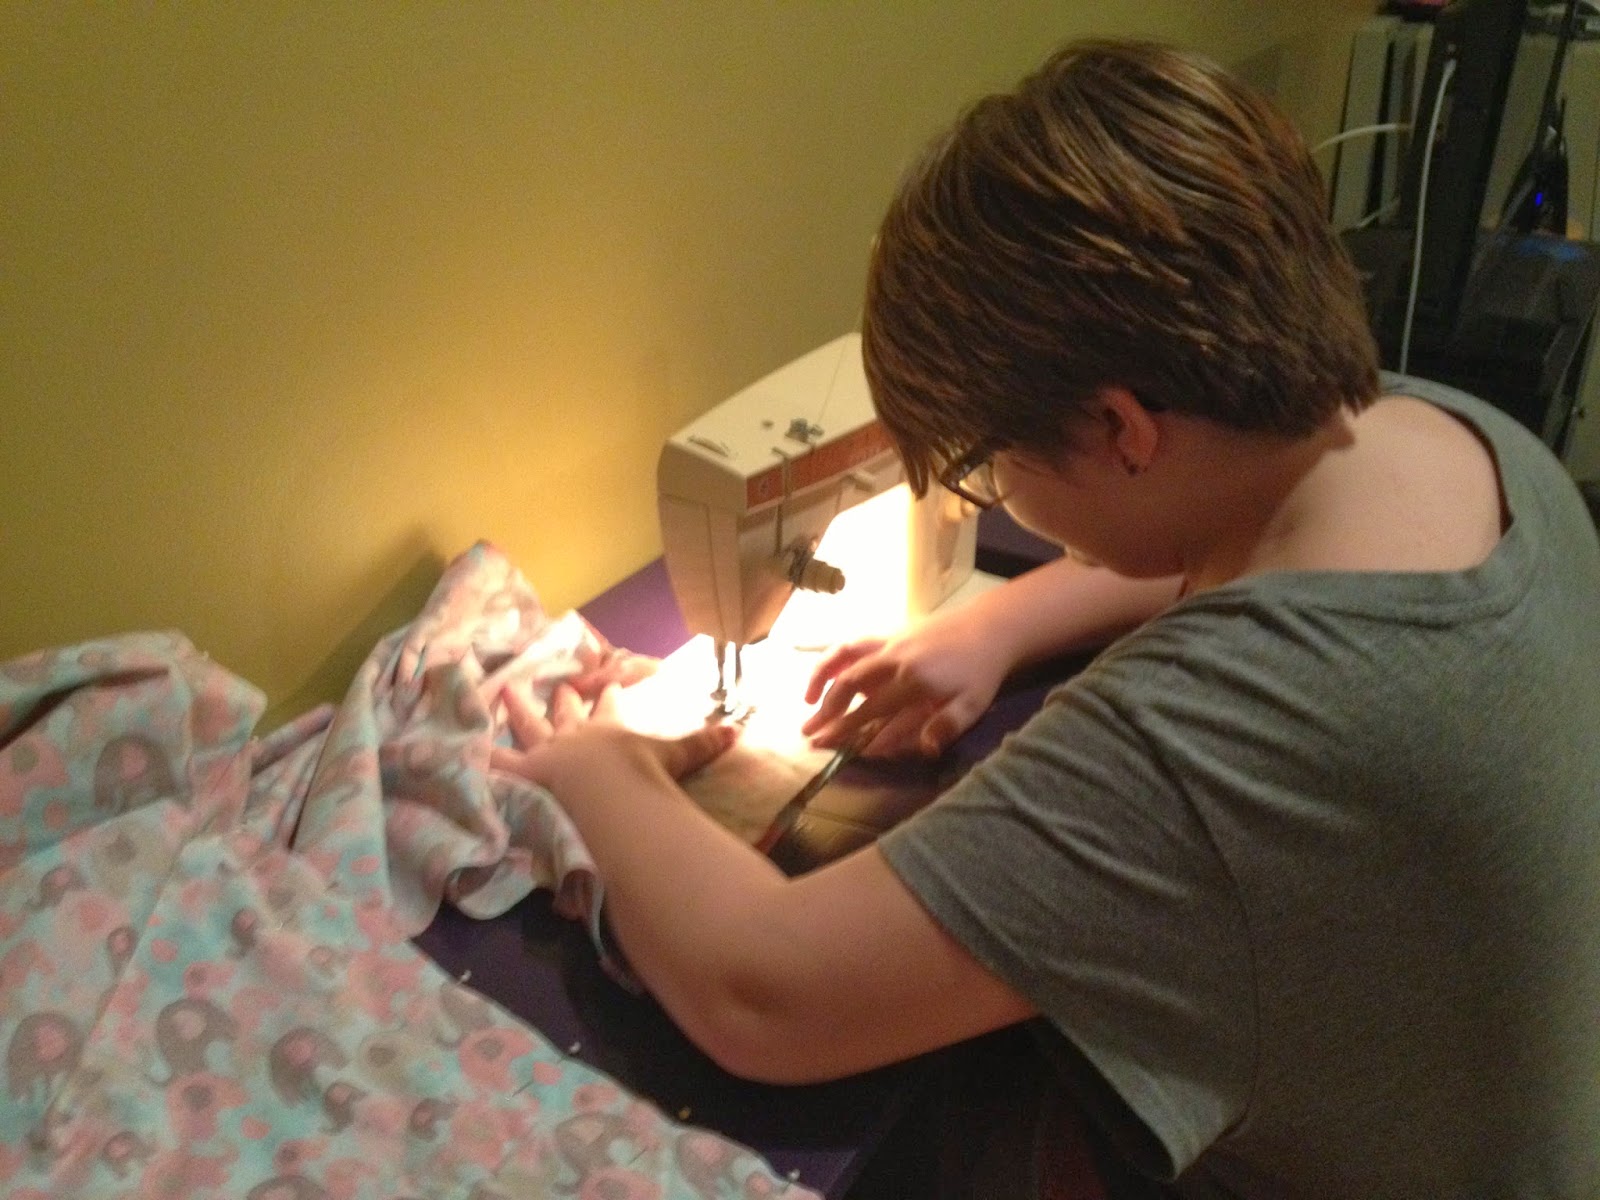 |
| Hard at work on some pajama bottoms! |
The teddy bear is a free pattern from www.eldrbarry.net (
www.eldrbarry.net/im/meg/simpbear.pdf)
I have no affiliation with the site, I just love the bear pattern. It's simple but still still has more character than most simple bear patterns online! I love that his little face isn't flat or just drawn on.
In the end, my super cheap machine wasn't all that cheap.
We paid about $14 for the machine and the cabinet.
The bottle of sewing machine oil was around $5
The foot control I found at a local sewing machine repair shop, it was $35
It will eventually need a new belt, which runs about $10
About $40 on primer and paint. ($10/can, 4 cans)
The sandpaper I had on hand but would run $10 if bought new (less if you did it by hand, I used a hand sander with pre-cut velcro refills.)
Various soaps, solvents and cotton swabs were in my house, as well as the Brasso used to clean the decorative cabinet parts. Brasso is about $4, the other stuff can be found at the dollar store.
I easily put 8 hours of my time into cleaning the machine, possibly longer!
The cabinet took several weeks but most of that was letting the paint dry well between coats. My actual investment was probably 4 hours.
All for a sewing machine that runs $14 on ebay! Maybe $30 if you can find one with the cabinet.
I don't really care what it cost though. it was fun to fix it up and my daughter loves the crazy color, and that it is all hers! Down the road, if she wants to refinish it again, it wasn't that hard. I'd happily help her again. I love that we can both sew at the same time! I also love that she was as involved in the process as she wanted to be. She wasn't there for every moment of it, but I think she knows more about how a sewing machine works than most people now! If it gets jammed up in the future, she can probably fix it herself!
I think it's a little funny that the photos show the slow progression of day and night, as well as various kids sitting with me, watching, keeping me company, sometimes abandoning me altogether!
So that's the story of our thrift shop sewing machine. What projects have you been working on?


Thanks Joan. This was really helpful. I was given a 362 in 1976 for my high school graduation and kept it for many years, but I never used it much and finally gave it away about 10 yrs ago and have regretted it ever since. I make quilts and love to sew and why I gave it away I'll never know. They are hard to find and I just found one on ebay and purchased it. It should arrive in a few weeks and I'm so excited to have it back. Not sure of its condition so I'll keep your posting near by when it arrives. Take care and thank you.
ReplyDeleteLet me know how it works out! I look forward to hearing about it! -Joan
DeleteThis comment has been removed by the author.
ReplyDeleteNice article! I bought the same model (except in a carrying case) in 1974 when I was 12. I used it to make most of my clothes for many years, and it still works! I'm thinking about getting a modern machine with all the bells and whistles so that I can take up sewing again and do it more efficiently, but I'm attached to my old 362. I did recently buy a serger, and that may be enough.
ReplyDeleteLoved your article..Have you found any site that explains how to replace the tension assembly? Thanks.
ReplyDeleteNice article. My mom has this machine and still using it. Do you know maybe how the belt can be adjust. There should be some screws but I can't find. I just replaced it with a new one but it is loose. Thank you.
ReplyDeleteI took mine out of the table and I’m not sure how to attach it back in. I want to sell it because I crochet now instead of sewing. Any help would be appreciated
ReplyDeletei am for the first time here. I found this board and I in finding It truly helpful & it helped me out a lot. I hope to present something back and help others such as you helped me. visit this website
ReplyDelete