Wednesday, May 14, 2014

Rendering tallow for soap

As discussed in my previous post, I've been making soap from scratch lately. A lot of soap! I kept coming across recipes for soaps using tallow, or rendered beef fat as a main ingredient. It's inexpensive and makes for a very hard bar of soap. It's also high in stearic acid, which is a key player in shaving soaps. Hubby likes to shave using shaving soap and a brush and in the past I'd made him shaving soap with a melt and pour base, adding clay to help the razor glide better. I wanted to see if making a cold precess soap with tallow would be an improvement.

That meant I had to make some tallow!

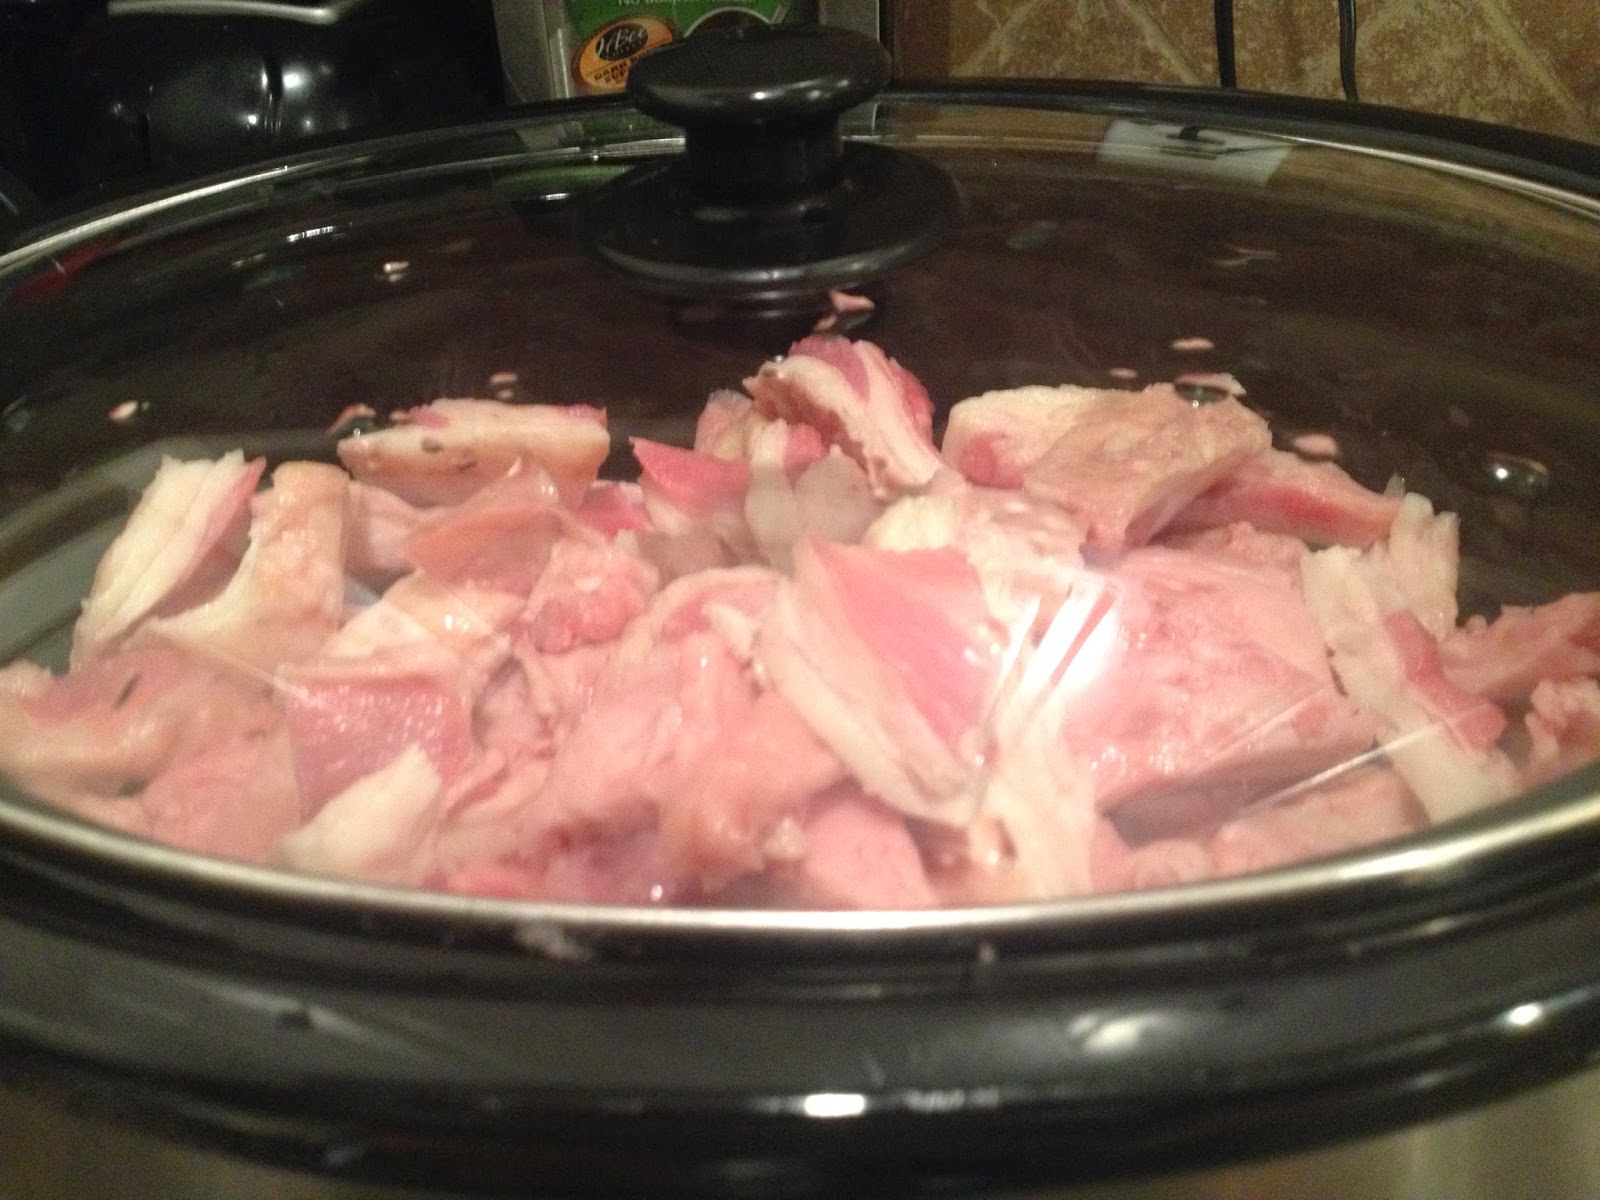
I started with a big bag of fat scraps from the market.
I started to try to trim the little bits, separating the meat from the fat, but quickly decided that was a phenomenal waste of my time! I had no plans for the microscopic bits of meat I was trimming off, except to give the dog a happy treat, and it was going to take hours!  Instead, I just dumped the whole mess into my crock pot. You can see that the crock pot is nearly full of scraps.
just starting
I put the lid on, turned it on and walked away. Actually, I went to bed, then got up, ran some errands, took the kids out and about, and generally forgot this was cooking.
starting to cook
 At the 12+ hour mark, it had reduced significantly, but there was still a fair bit of fat stuck to the meat.
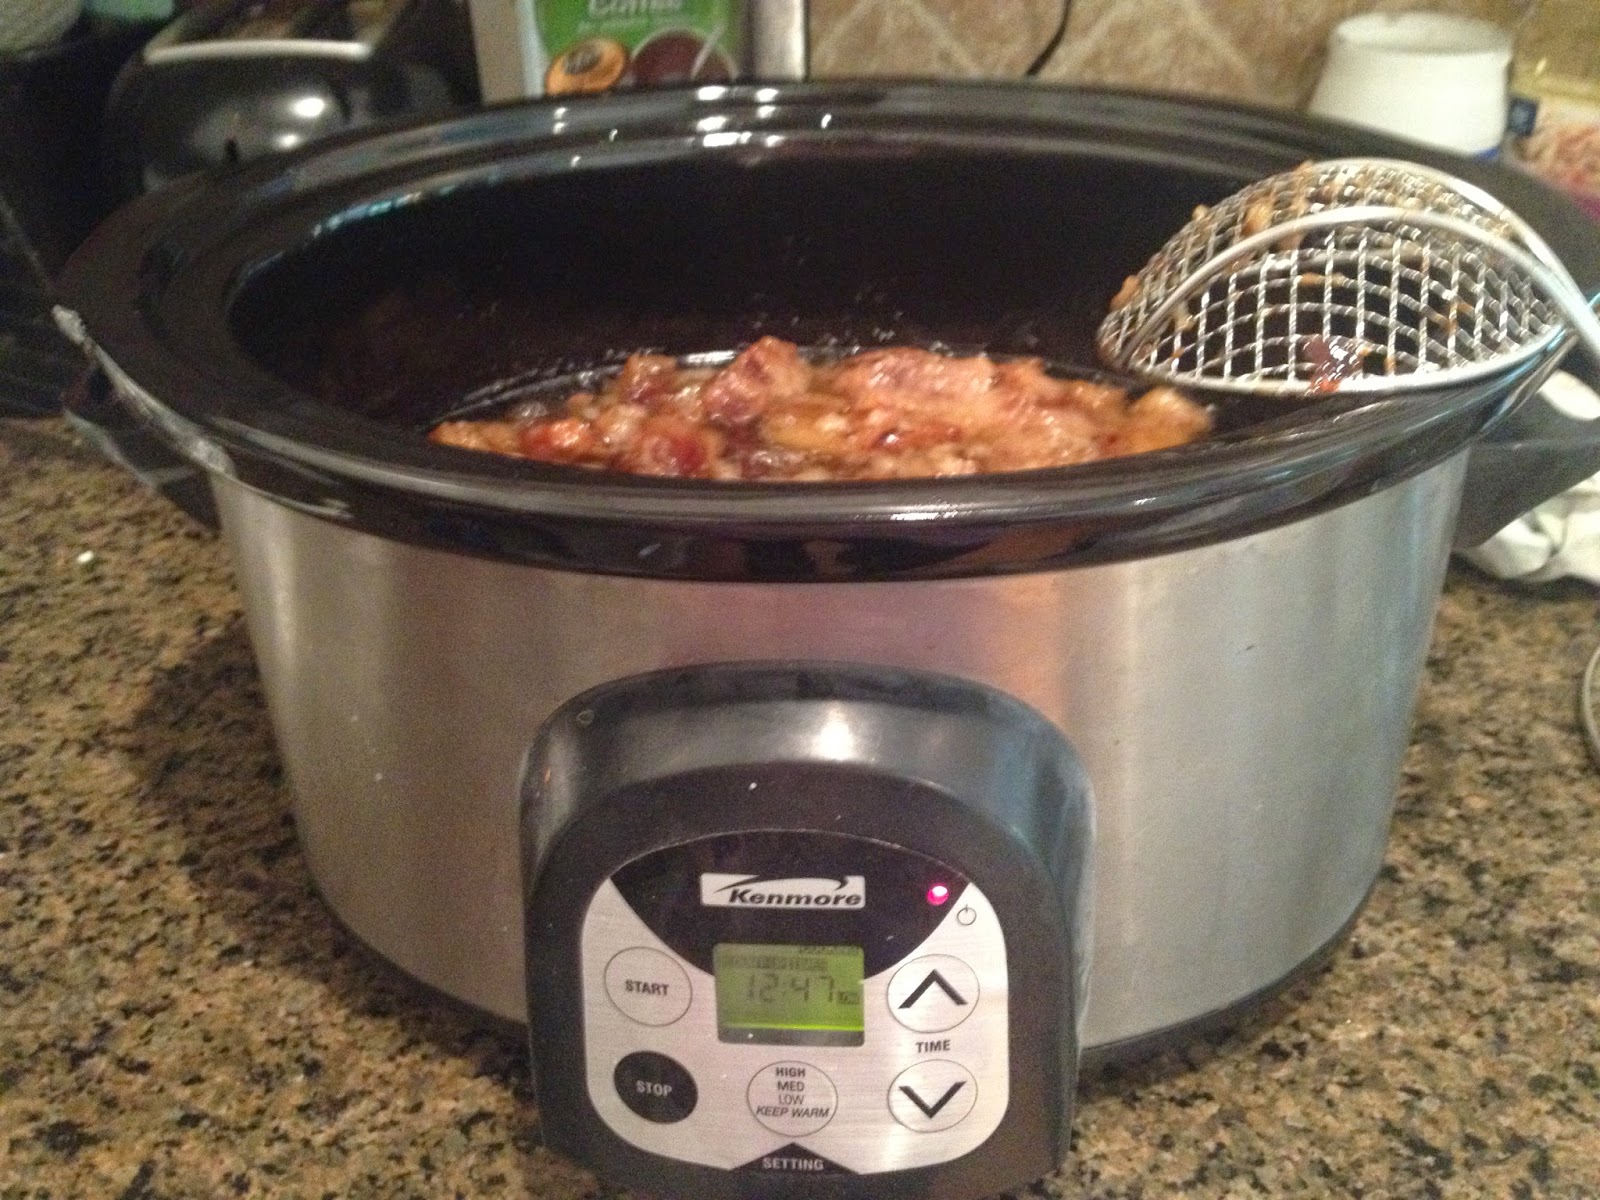
12 hours 47 minutes
So I left it to cook for a little while longer. I had read that some people had to open the windows because of the bad smell, especially when rendering suet, which is the fat from around the kidneys, but this fat was from all over the cow and instead of smelling awful, smelled like roast beef! I felt a little bad for hubby. He was working from home and subjected to this smell all day with no hot roast beef dinner at the end!
12:47
 At about 16 hours it's almost done.
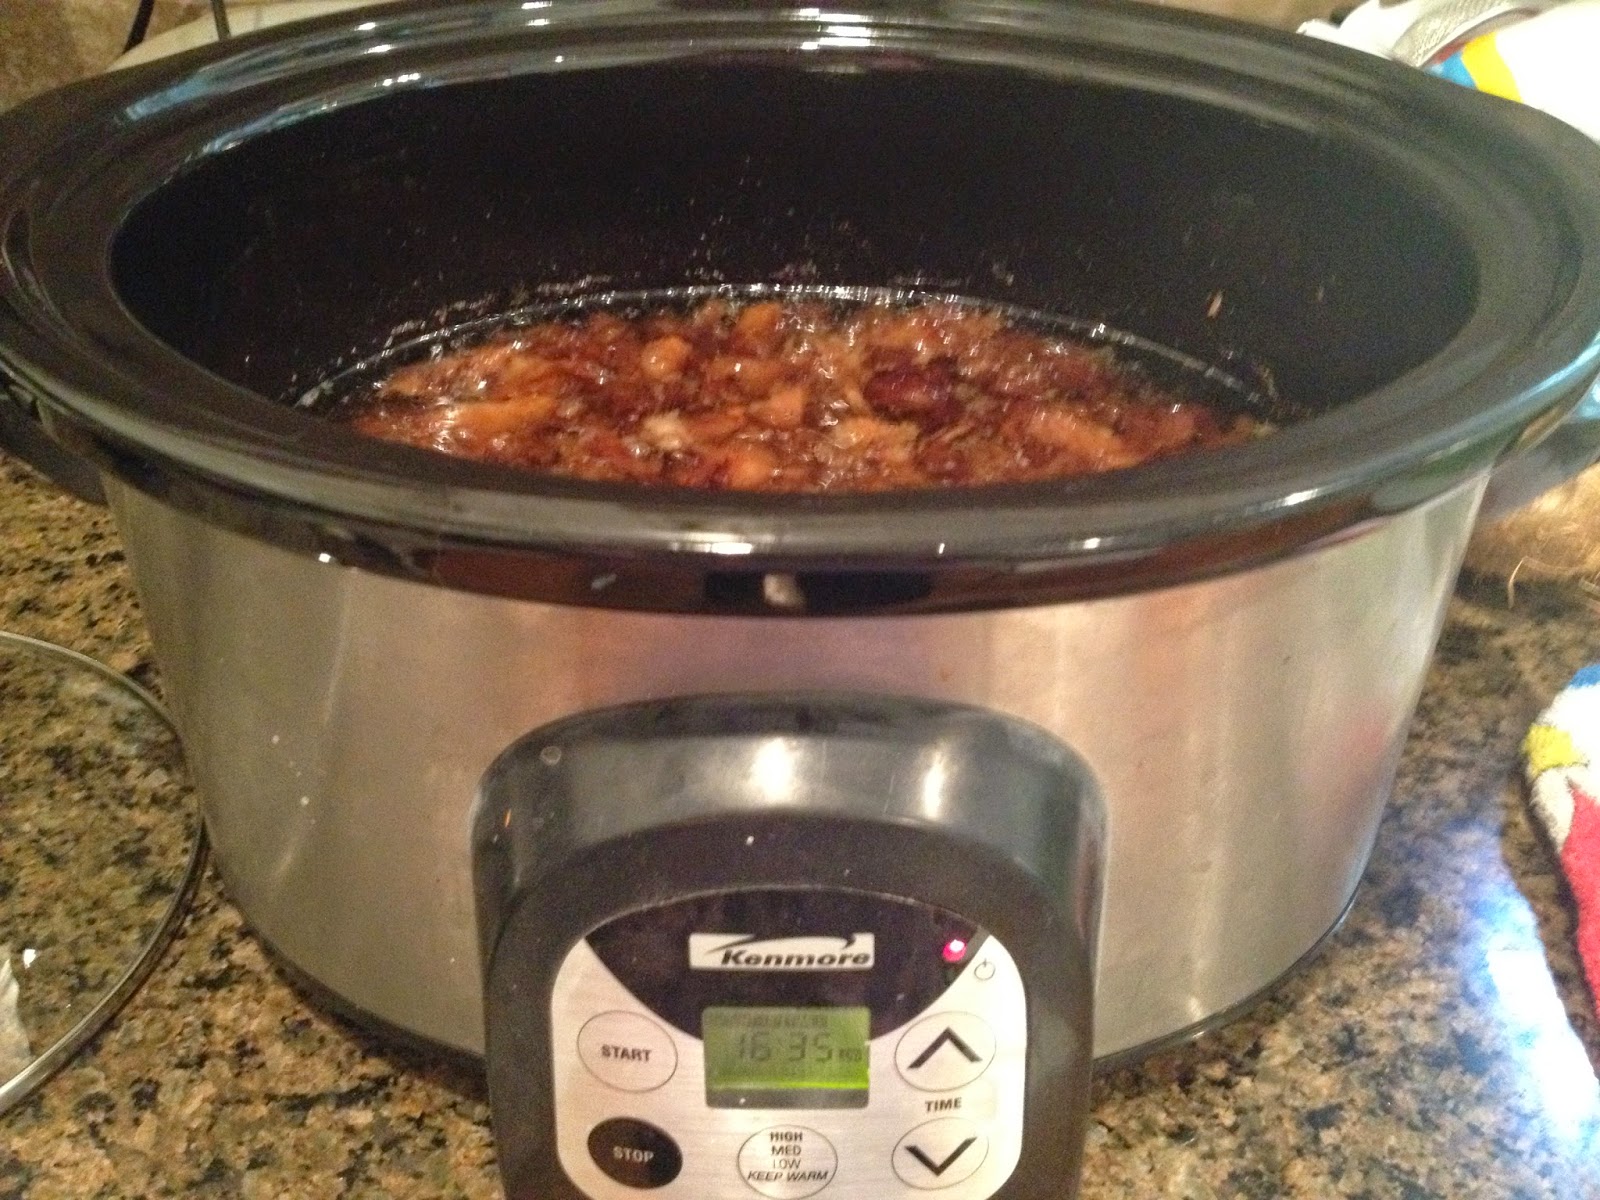
16 hours 35 minutes
There are still some big pieces that are holding some fat. If I'd been free, this might have been an ok time to dump and drain this, but I was busy so I left it a while longer!
16:35
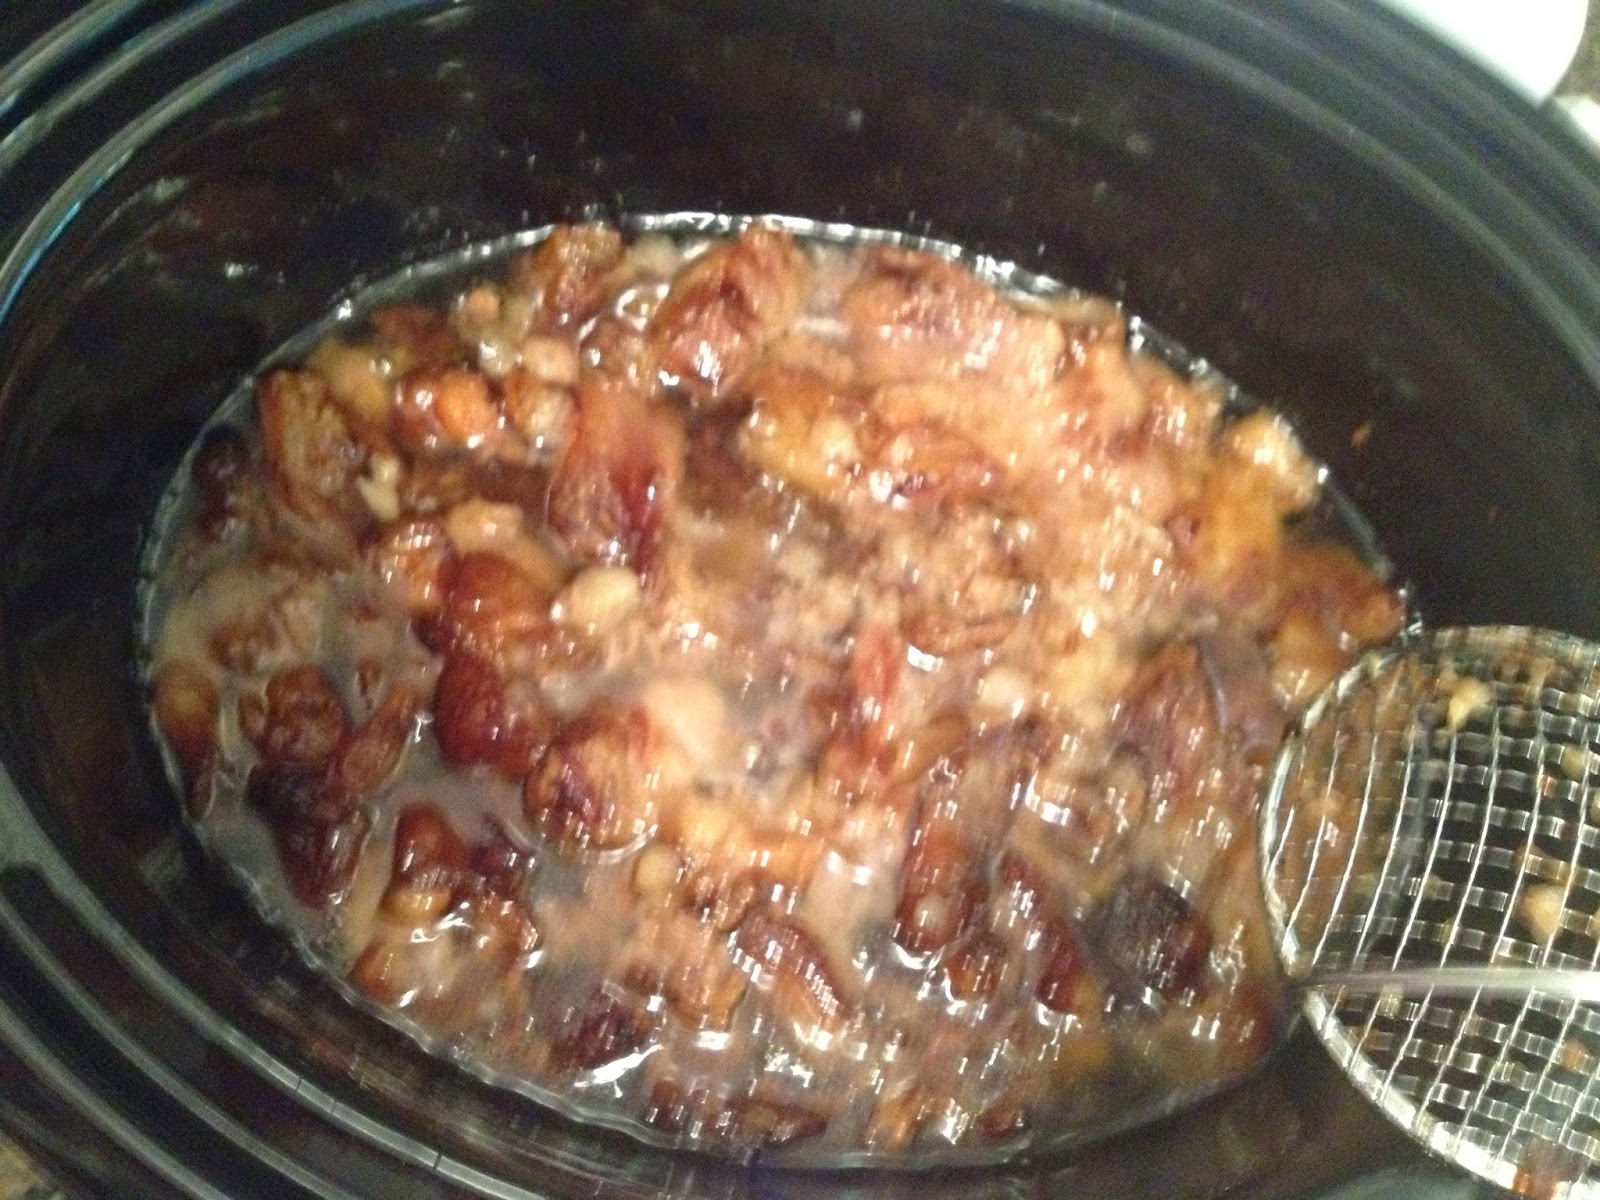
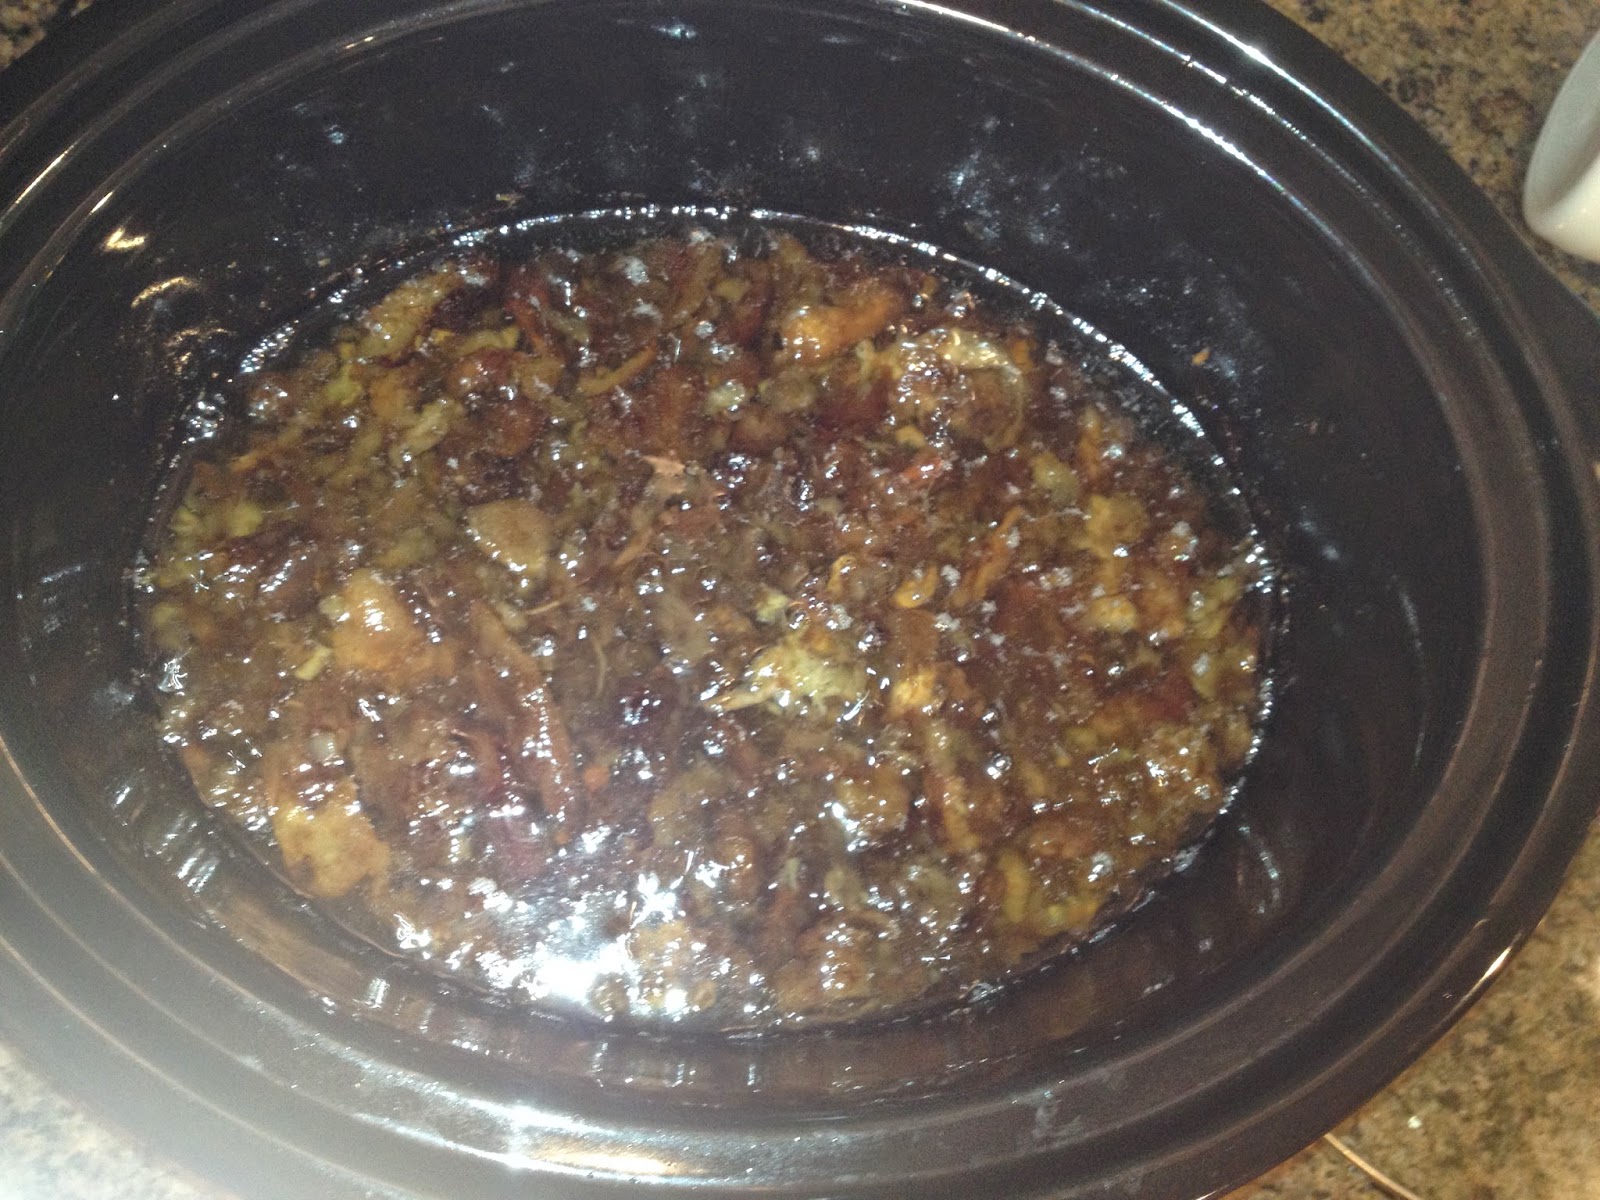
Here we go, 18 hours, 21 minutes. This is about as done as it's going to get! At this point the bits of meat in the pot started to turn a dark brown and I worried that leaving it any longer might start to overheat the oil.

18 hours 21 minutes
There's not much left in the pot, just oil and browned bits of meat. The white bits that still look like fat are cartilage and aren't going to render out any more.
18:21
You can see how the level has dropped to about half the crock pot.
done!
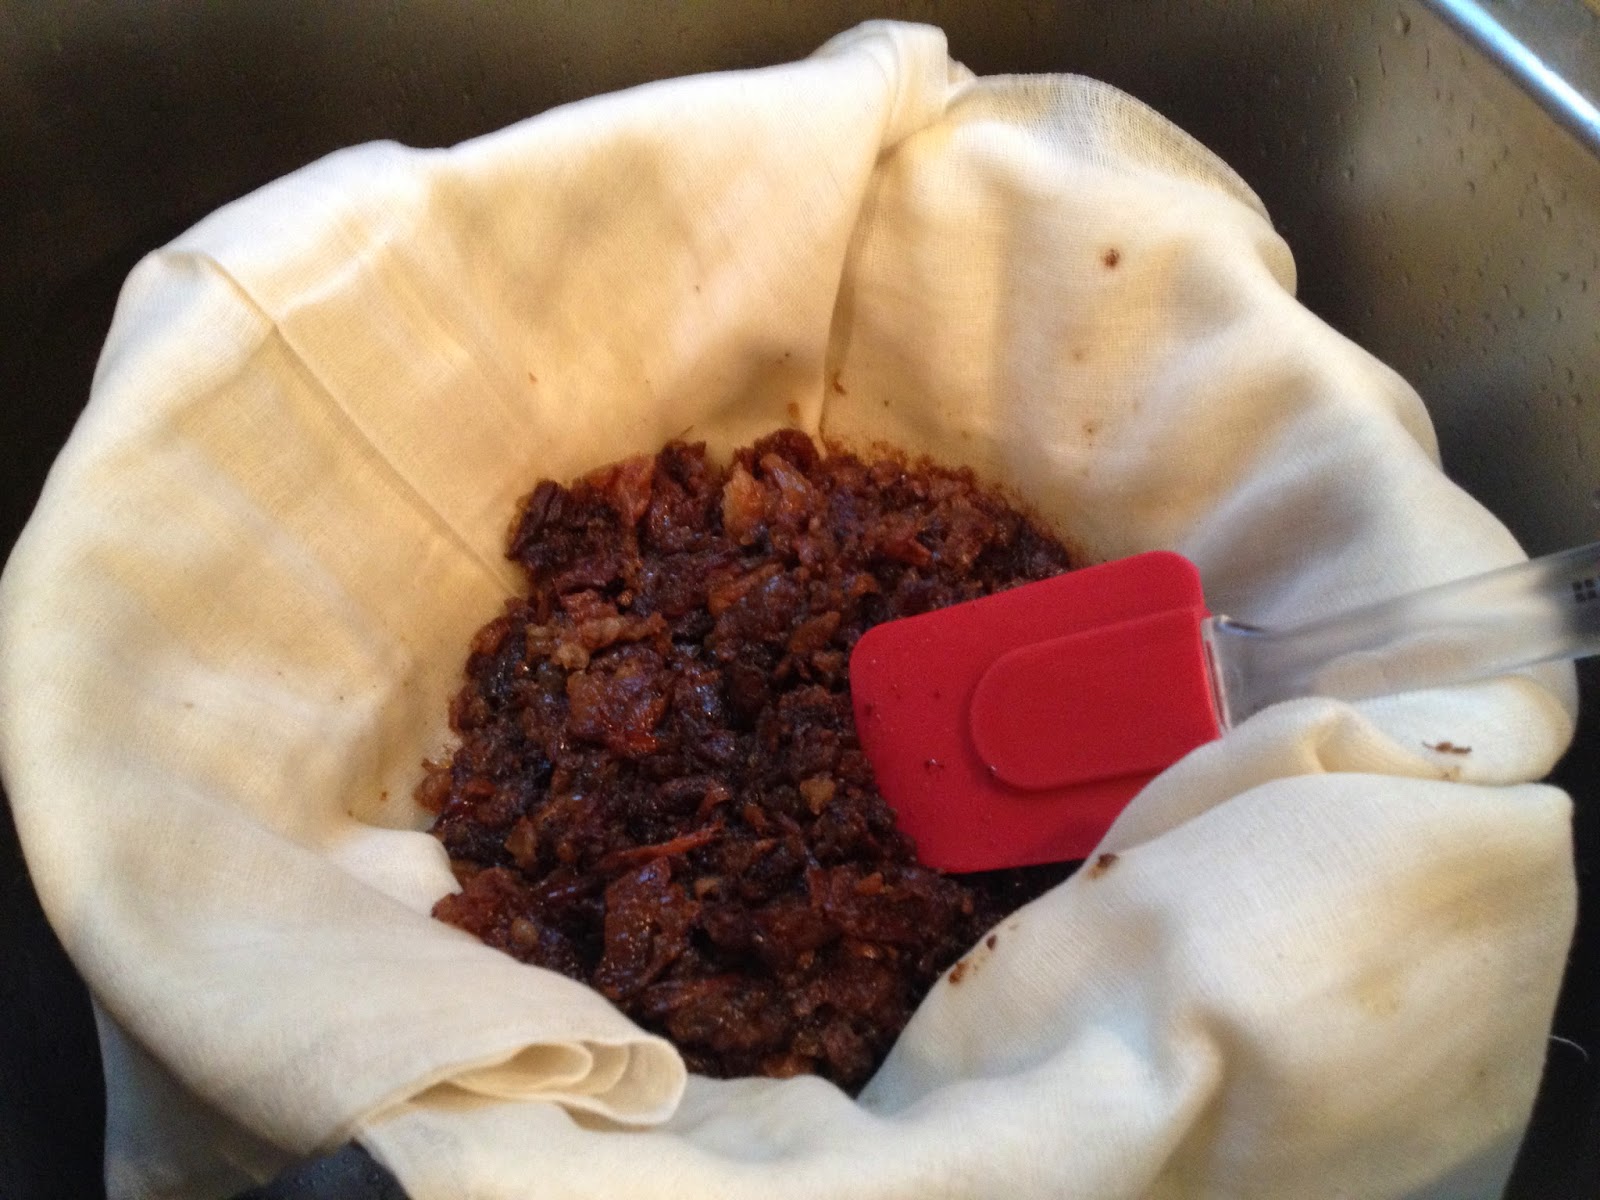
 I poured the whole mess into a strainer lined with cheese cloth and let it drain into a pot.
my dog loves me so much right now
 After letting it drain by itself for a while, I folded up the cloth and gave it a squeeze.
squeeze
I put it between two plates, tipped it sideways, and gave it a gentle press to force out any remaining oil in the meat scraps. I will probably skip this step next time. I dirtied two plates and get very little oil out.
 I was left with a pot full of a clear golden liquid that had a very slight roast beefy smell.
clear, rendered, beef fat
I transferred this to a couple of containers on the scale to see how much was left. You should make sure your containers are heat tolerant or risk melting them like I did! The big container was fine,. The little storage container began to buckle and warp. Luckily, I just wanted to measure it and could pour it into another container after quickly snapping a picture!

About 5 and a half pounds of fat trimmings left about 2 and a half pounds of tallow.
2 and a half pounds of tallow
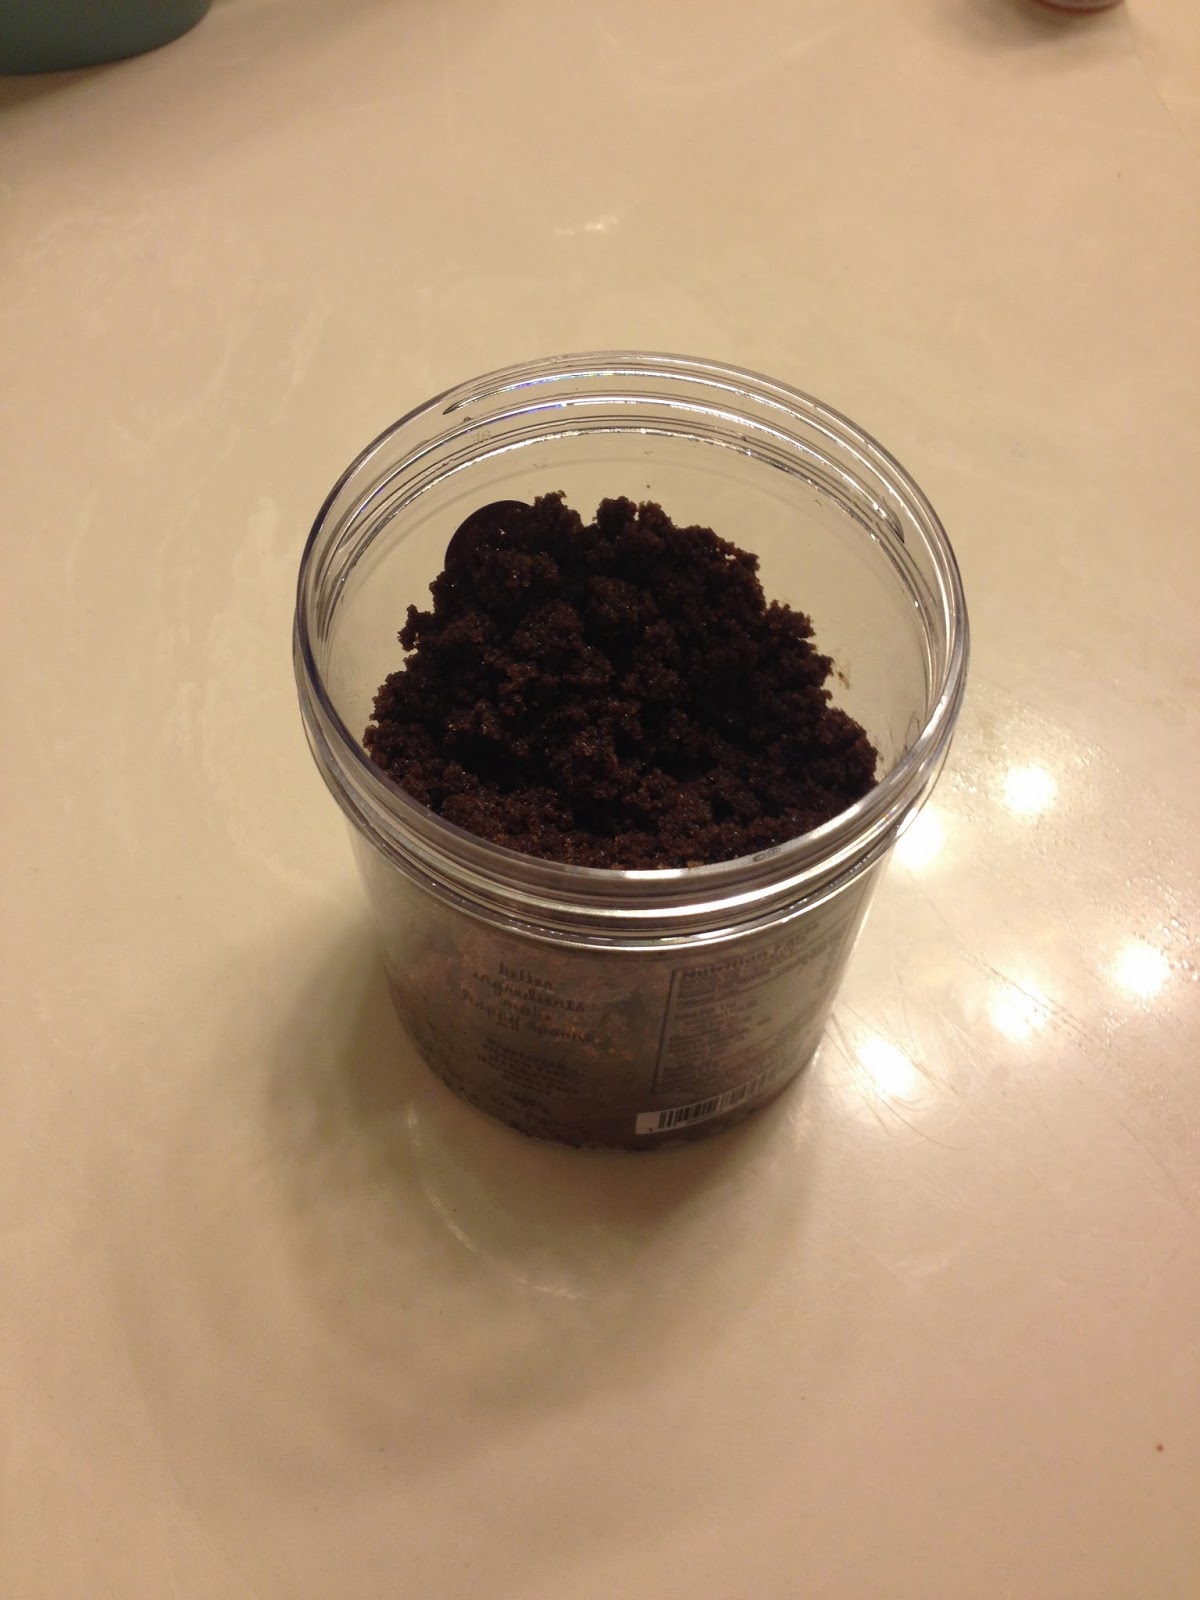
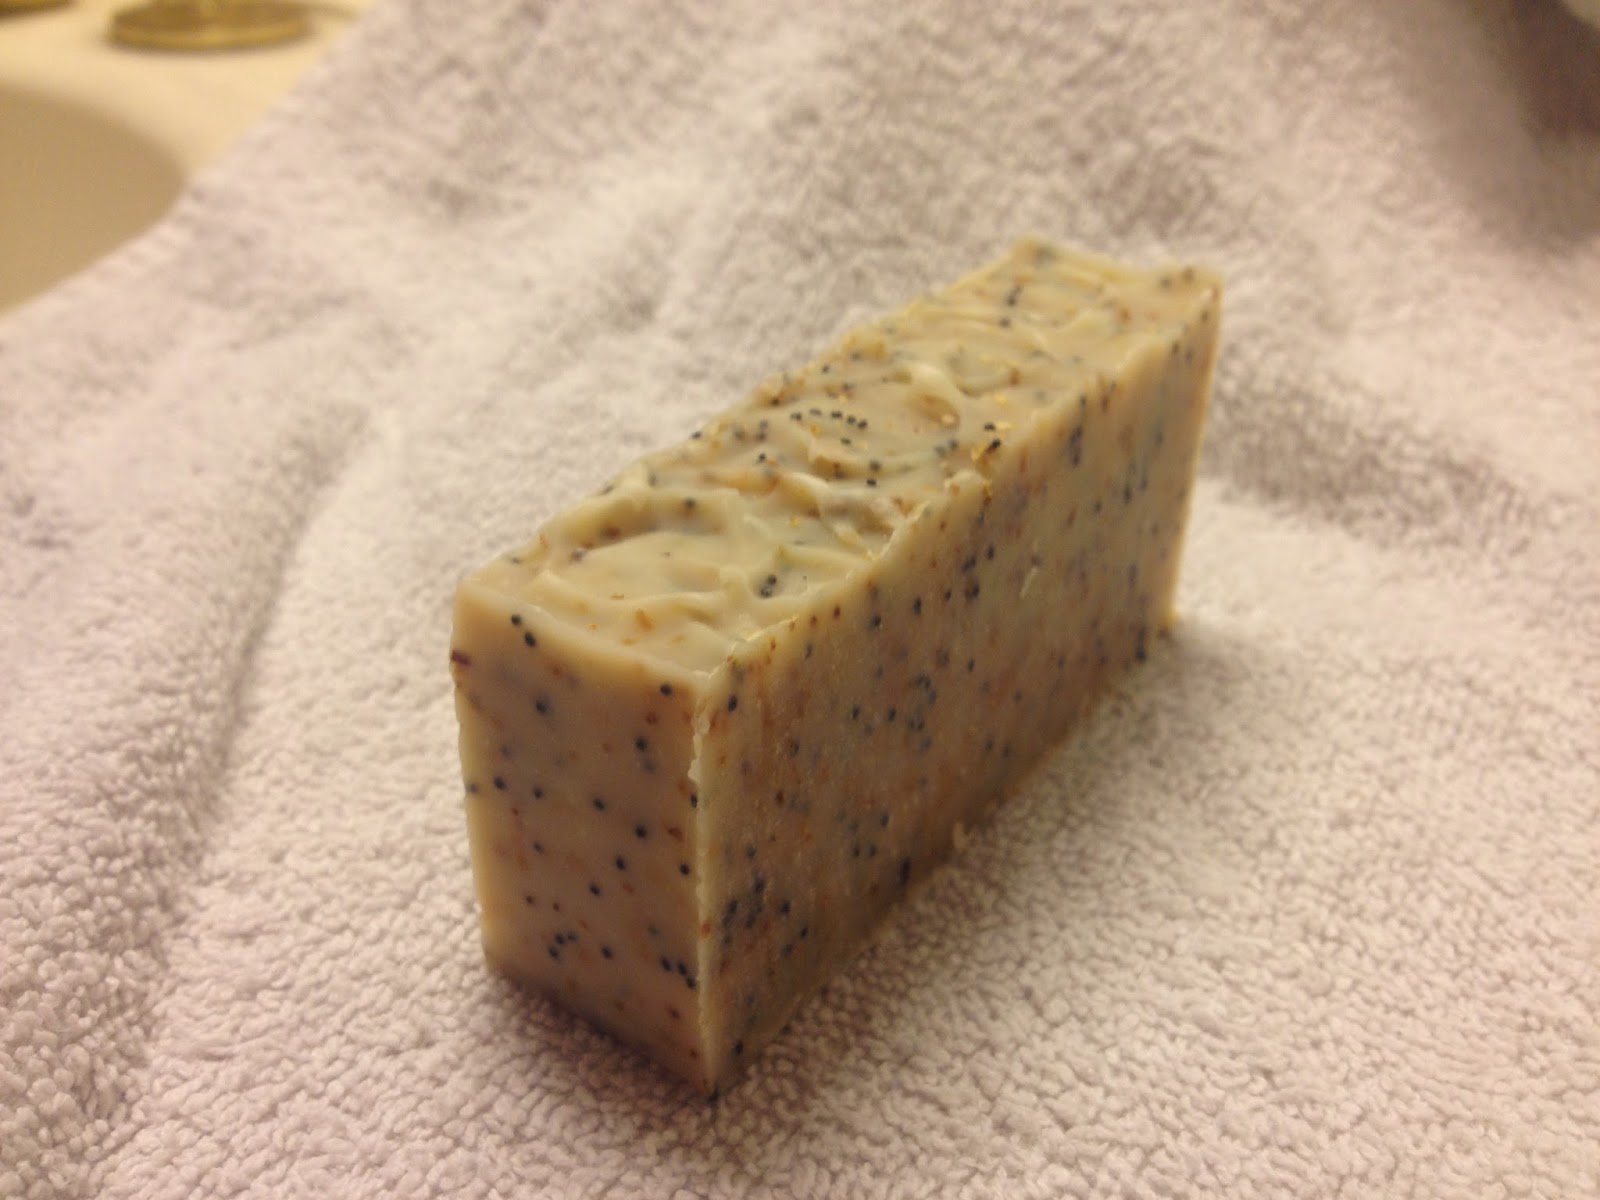
One of the great things about tallow is that so long as you keep it tightly sealed, it can sit on the shelf for months!  Mine didn't last nearly that long!  Up first was a batch of lemon poppyseed hand soap!  This is it, fresh out of the mold. Once saponified, there is absolutely no trace of the beefy smell. Just the natural smell of fresh soap, and in this case, some lemon essential oil!
lemon poppyseed soap loaf
This is it cut and cured for a few weeks. This bar also has coconut oil, castor oil and and olive oil, in a goats milk base. The poppy seeds and lemon peel granules make it scrubby. It's a great soap for the kitchen.
lemon poppyseed goats milk soap bar
Here's the shaving soap!  I used a 3 inch cylindrical mold to make pucks of this soap. This is a cedar and lime scented tallow shaving soap with French green clay added for slip. It also has shea butter, avocado oil, sunflower oil, coconut oil and castor oil.  I am eager for it to fully cure so I can see how it lathers!
cedar and lime shaving soap with green clay.
In the end, I paid $3.23 for the fat scraps and ended up with about 42 ounces of tallow. That's $0.0769 per ounce. Let's call it $0.08. That's nearly a third the price of my next cheapest ingredients, coconut and olive oil, which are both around $0.25/oz.  So far, I am impressed with these soaps. They are much harder than my other soaps, which should make them last longer. There's no weird smells and they lather nicely!

Monday, April 28, 2014

Mint Chocolate body scrub

Over the past few years, my husband has been making an effort to reduce the amount of "chemical" in his life. I know, I know, I already teased him about the word chemicals. Everything is chemicals. We know that, but I also know what he means.  He's been eating more locally grown, organic produce and grass fed meat. He's switched to toothpaste with fewer hard to pronounce ingredients. Things like that.

In an effort to help him know what's in the products he's using, I started making soap at home, from scratch. With the help of some lye calculators and a lot of internet help with recipes, troubleshooting  and moral support, I've made several bars of soap that have all been well received in our house.  This post, however, is not about soap! I currently have 2 tabletops covered with soap curing until it's ready to use so the last thing I needed was another batch of soap! That didn't stop me from perusing pintrest for new, interesting recipes while waiting for my kid at play rehearsal.

Recipes for soap tend to get mixed in with recipes for lip balms and lotions and other DIY bath and beauty products. One immediately caught my eye! A chocolate mint sugar body scrub!  Girl scout cookie season is over and we are sad to see our thin mints leave but now we can just bathe in them instead of eat them!

The original post and recipe is from Henry Happened and her photos are so much more creative and awesome looking than mine! 

Not her picture, just my sad camera photo!
I mixed up a batch. I made a few modifications, one being that I used half sunflower and half olive oil because I didn't have almond oil, and the other was using a plastic bag instead of a mixing bowl to contain all the thin-minty goodness. At first, the mixture didn't seem all that interesting and I wondered if I had missed some critical part of the recipe (which is hard, because the recipe is really simple but crazier things have happened!) I smushed it around to get it all mixed well, then added the oil and peppermint EO.  That's when magic happened!  The color changed and the texture changed and it started to look yummy!  When I opened the bag, the smell was fabulous!  I poured it into a plastic container I had hanging about.  I might have used some nail polish remover to scrub off the name of the gelati company but anyone that read this blog knows I'm not in it for that much effort! :)

The result is a delightful mixture of chocolate and mint and just enough oil to hold it together and make it easy to handle. I brought the jar up to my daughter who opened it, smelled it and ran to the shower to try it!

She emerged a little while later freshly scrubbed and raving about how she felt like she just covered herself in chocolate scented lotion.  Her skin is soft but not greasy and while the smell was great in the shower, it's not overpowering on her skin.  I have a feeling she's not going to surrender this and I may have to make another batch for MY shower!

For the full recipe, and much prettier pictures, please go to Henry Happened! If you're missing your thin mints, this is a way to get them back, at least in spirit, until next year!  If you do try it, be careful! It can make the tub slippery!  Use appropriate caution if your tub or shower gets slippery!

And check back soon for stories of soap and playing chemist in the kitchen!


Wednesday, March 19, 2014

The sewing machine

A while back I was doing some sewing, making a few baby gifts for some friends. My daughter was intrigued. I don't haul out the sewing machine often, so watching me sew was novel to her.  She wanted to learn, so I set her up with some scraps and got her started on a small project. Of course, this made her want to use my machine while I was still busy with my own projects which was making everything take longer. We needed a solution.

A few days later, I happened upon a battered bit of furniture at a local thrift shop. I recognized the cabinet immediately. Singer never had much variation in their sewing machine furniture!  I peeked inside and found a well loved, and long neglected sewing machine with no power cord. It was a "Fashion Mate 362" an amazing workhorse of a machine. Fashion Mates are often used in schools for Home Ec because they are affordable and easy to use, as well as extremely durable. What better machine for teaching a kid how to sew than a machine that is used all over to teach kids how to sew? In it's sad state, the thrift shop only wanted a few dollars for it.  Knowing old singers are nearly indestructible, I put it through its paces, moved all the knobs and dials, found only one sticking but was fairly sure I could fix it, and if the internal electronics were still good, all it would need is a foot pedal/power cord! If the electronics were shot, I was only out a few dollars and I got a fixer-upper table instead!

I snatched it right up!


The machine itself showed a lot of wear, scuffed paint from heavy use, but it was also really grimy. I imagine it belonged to someone that sewed a lot, thus the worn spots, then it stopped being useful, was moved into a kitchen and used as decoration. Cooking grease settled on all the surfaces of the machine hidden inside, and the top of the cabinet was used to hold plants. Plants that were over watered and damaged the lid.
Doesn't look too bad at first glance, but it was literally TACKY with grime!